Gluten Free Bread Flour Blend Recipe
Calling All Bread Lovers Living That Gluten-Free Life!
If you’re like me and crave the comfort of fresh-baked bread but have to steer clear of gluten, this post is going to make your heart (and kitchen) happy. I have spent months—yes, actual months—testing, tweaking, and troubleshooting all things gluten-free bread. And friends, I have finally landed on a foolproof gluten-free bread flour blend that you can use to make swoon-worthy sandwich loaves, fluffy dinner rolls, artisan boules, and even cinnamon rolls.
This is more than just a blend—it’s your entry point to making homemade gluten-free bread that truly delivers on taste, texture, and nutrition. ?
Calling all bread lovers, that have to live that gluten-free diet life! I am SO excited about this post! I have spent months trialing and addressing errors in the realm of gluten free bread making, and I have FINALLY landed on a foolproof method! This blog is your first step in making delicious and easy homemade gluten-free bread! While quick breads, cookies, crusts, etc can use all purpose gluten-free flours, yeasty bread requires a different balance of starches and flours.
Why Gluten-Free Bread Flour Matters
Let’s be real: baking gluten-free bread is a different beast than whipping up gluten-free cookies or muffins. You can get away with using a standard GF all-purpose flour blend for quick breads, cookies, cakes, and pie crusts. But yeast bread? It demands a different balance of structure-building starches and protein-rich flours to mimic the elasticity and rise that gluten normally provides.
This blend was developed out of necessity—and passion. I was tired of dense, gritty loaves or gummy interiors. I wanted soft, chewy, flavorful bread without having to compromise on ingredients or nutrition.
Two Bread Flour Blends—What’s the Difference?
Over the years, I’ve crafted two go-to bread flour blends for different purposes:
- This blend (featured in this post) is light, fluffy, and teff-free, perfect for:
- White sandwich bread
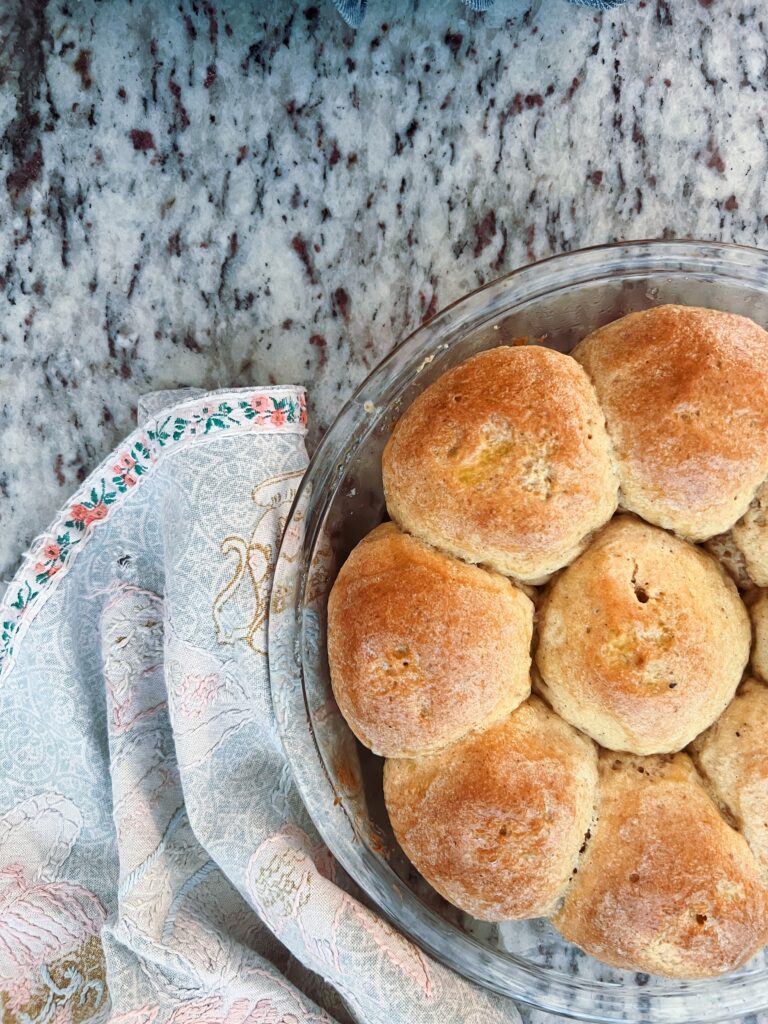
- Soft dinner rolls
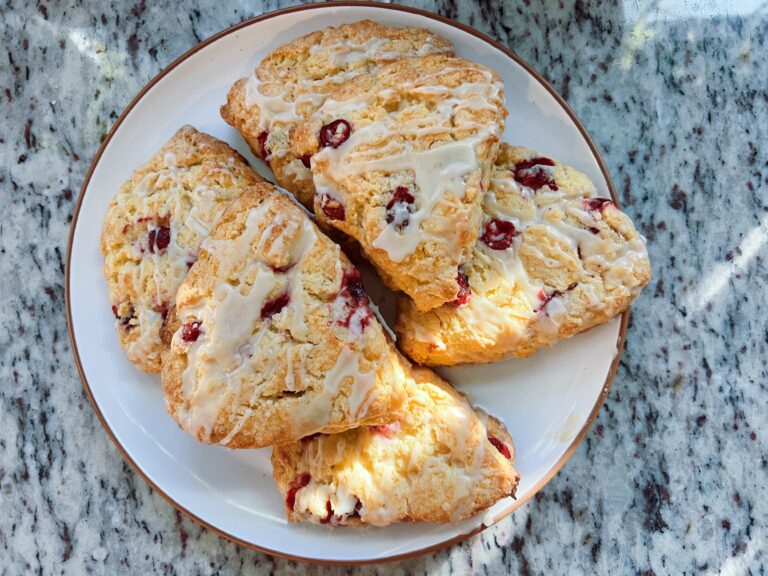
- Cinnamon rolls
- Focaccia or flatbreads
- Lighter-textured sourdough
- My other whole grain flour blend includes teff flour, which is rich in nutrients and adds heartiness. Think ‘whole wheat flour’. It’s best for:
- Wholegrain sourdough
- Hearty sandwich loaves
- Rustic or denser breads
Both blends are amazing, but depending on what you’re baking—and how close to “classic wheat bread” you want to get—you’ll choose one over the other.
This blog covers not just a balanced bread flour blend, but also a delicious gluten free bread recipe (think white sandwich bread), so you can start your journey of fresh baked bread today! I have tons of other bread recipes on my blog, if you are interested in a different bread recipe – but all use the gluten-free bread flour blend highlighted below!
What This Bread Flour Blend Doesn’t Contain (and Why That Matters)
- No rice flour – Due to concerns about arsenic levels and its lack of nutritional value.
- No xanthan gum – This common additive can cause digestive issues and isn’t naturally occurring.
- Yes to whole grain flours, that actually add fiber, protein, and nutrients.
- Yes to a blend that works across all yeast-based recipes—and sourdough! (More on that in a future post.)
Gluten-Free Bread Flour Blend Ingredients:
- tapioca flour(also known as Tapioca Starch) – Adds stretch and chewiness to the bread. It’s a light, starchy flour that helps give gluten-free dough some of that “springy” texture often missing in GF baking.
- millet flour – A mild-tasting flour that helps create a soft, tender crumb. Millet also supports browning and provides important nutrients like magnesium and B vitamins.
- sorghum flour – Earthy and slightly sweet, sorghum adds bulk and mimics the texture of wheat. It works well in bread recipes to create a heartier, more wheat-like feel and improves moisture retention.
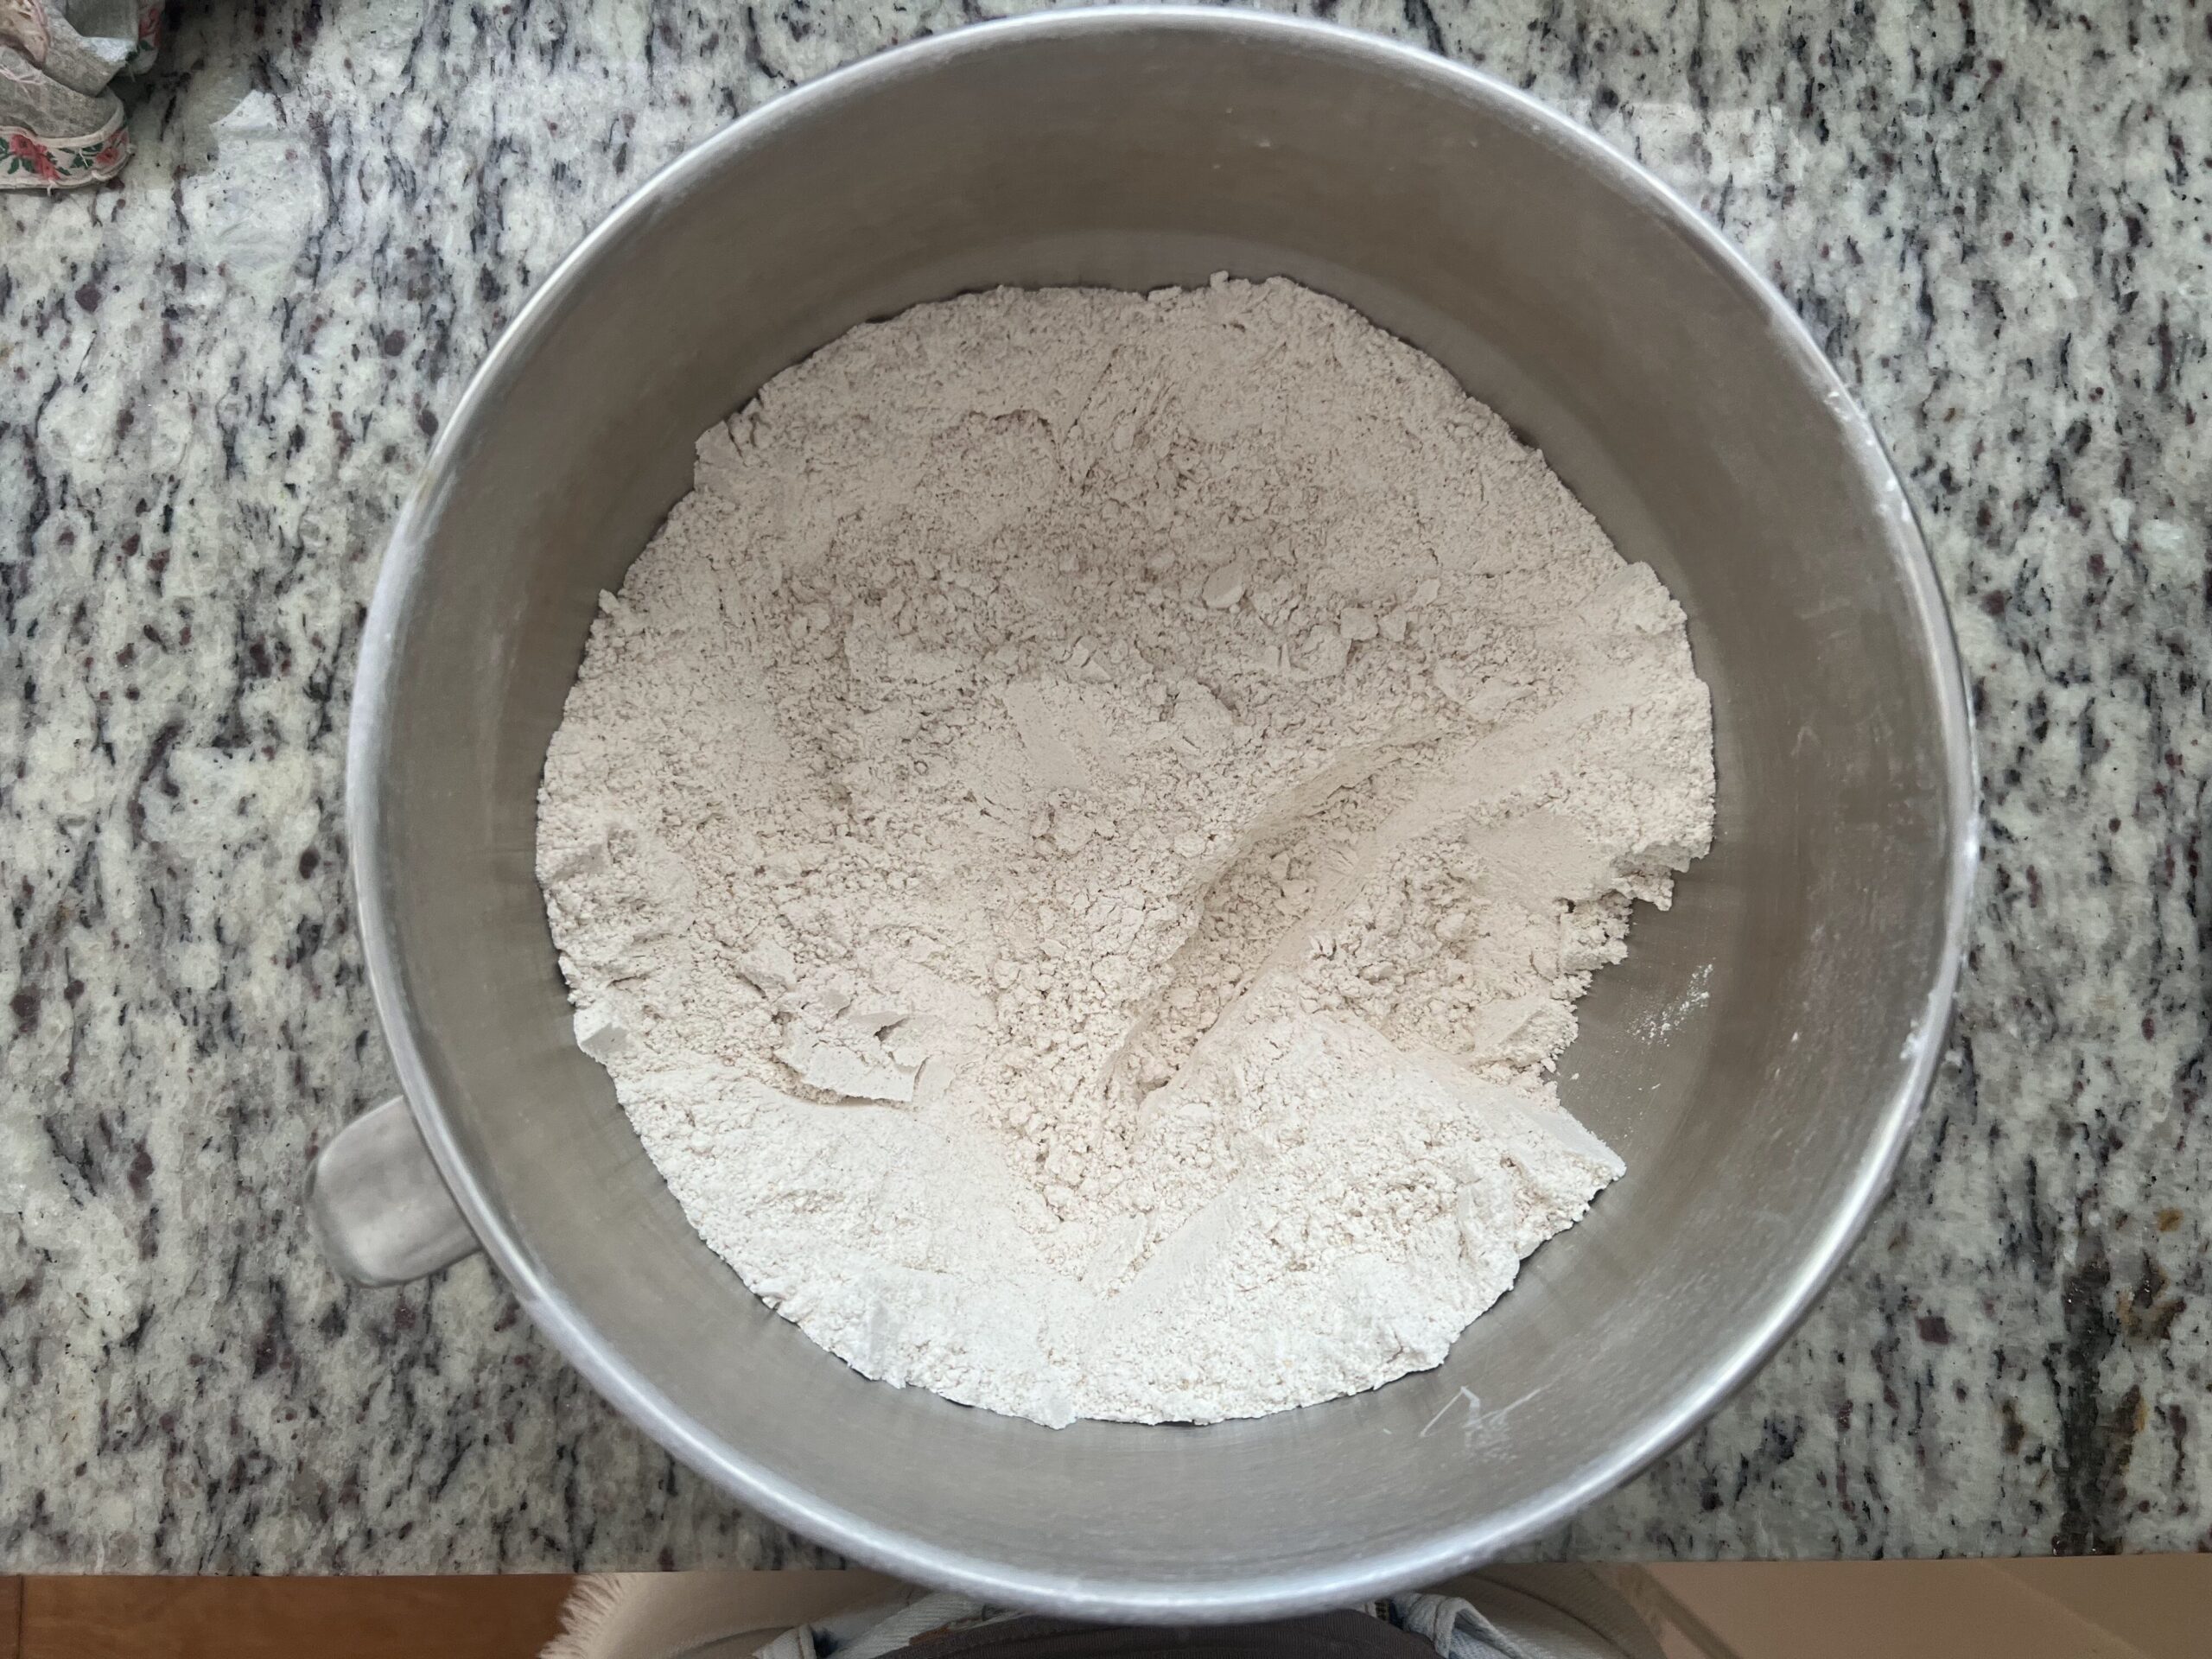
Instructions: How to Make the Blend
- Weigh your flours using a kitchen scale—this ensures accuracy (and consistency).
- Blend the flours together in a stand mixer using the paddle attachment on low speed for about 5 minutes.
- Store in an airtight container. At room temp, it lasts up to 3 months. Refrigerated, up to 6 months.
Pro tip: Double or triple the batch and keep it ready to go—trust me, you’ll be baking a lot with this.
What You’ll Love About This Blend
- It’s versatile: works for sandwich bread, artisan loaves, rolls, and more.
- It skips common allergens and additives.
- It supports both yeast and sourdough baking.
- It makes bread that tastes and feels like the real thing.
- It’s nutritionally dense and doesn’t rely on empty starches.
- You control the add-ins like psyllium husk or guar gum, depending on the recipe.
- It does not contain brown rice flour or white rice flour
- You can double or triple the recipe to make a big batch to last
- The ingredients are not hard too find – in fact I buy all of mine from Amazon (though I am intrigued to look into other options for bulk flour)
Tips & Tricks for Successful Gluten-Free Bread Baking
- Always use a kitchen scale. Precision matters more than ever in gluten-free baking. You will need a kitchen scale to make this – measuring in grams is so much more accurate than using a measuring cup
- Use psyllium husk to help create structure and elasticity—it’s a game changer.
- Add a splash of apple cider vinegar—it helps boost yeast activity and improves the rise.
- Proof your yeast before adding it to the mix for optimal lift. I always let my yeast proof before adding it to the dry ingredients – I feel like this yields a really beautiful rise in gluten free bread
- Use certified gluten-free yeast—I love Bob’s Red Mill for this.
- Don’t overproof. Even if it looks like it’s not rising much, this blend has amazing oven spring.
- Use a Dutch oven for artisan-style loaves—it creates the perfect steam environment. For artisan loafs, I encourage using a 4.5 or 5 quart dutch oven (ceramic coated)
Recipes That Work with This Blend
- Sandwich Bread
- Artisan Boules
- Cinnamon Rolls
- Dinner Rolls
- Focaccia Bread
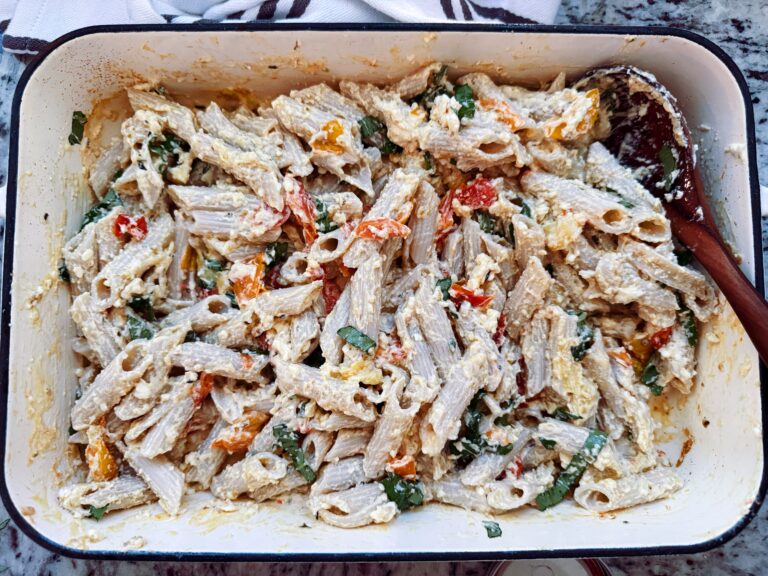
- Pizza Dough
- Hamburger Buns
Whether you’re craving sweet, savory, crusty, or soft—this flour blend has you covered.
For best results, it all starts with a good gluten free bread flour blend. A lot of recipes use an all-purpose gluten free flour blend, but I have found to really develop a texture of bread that hits home, the ratios of starches needs to be different than that of an all purpose blend. Check out the recipe card below to make your own batch of gluten free bread flour to start baking all those delicious yeasty breads!
Storage Guidelines:
For the Gluten-Free Bread Flour Blend
- Airtight Container: Store in a well-sealed jar or container to keep moisture and odors out.
- Room Temperature: Store in a cool, dry pantry for up to 3 months.
- Refrigerator: Extend shelf life to 6 months by storing in the fridge.
- Freezer Option: You can freeze the blend for up to 1 year—just let it come to room temp before baking.
- Label It: Include the date you mixed the batch and a reminder of which flours are included.
For Baked Gluten-Free Bread
- Cool Completely: Let bread cool fully before slicing or storing to avoid gumminess.
- Room Temperature: Store in a sealed bag or bread box for up to 2 days.
- Refrigeration (Not Ideal): Can cause drying, but okay for high-humidity areas—use within 3–4 days.
- Freezing: Slice first, then store in a freezer-safe bag for up to 3 months. Reheat or toast straight from frozen.
A Quick Word on My Journey
I was diagnosed with Celiac Disease 20 years ago, when the only GF options were… let’s just say “experimental.” Think: cardboard bread, gritty textures, and dry, flavorless crackers. I honestly avoided most GF substitutes and leaned into a Paleo-ish life by default.
But fast forward to today, and I’ve finally landed on all purpose flour blends and bread flour recipes I’m proud to share, because they’re tested, reliable, and—most importantly—delicious.
Why I Skipped Rice Flour and Xanthan Gum
Rice flour may be a gluten-free staple, but I wanted to develop recipes that didn’t rely on it—especially considering concerns over arsenic content. (If I do use rice, I opt for California-grown, organic, and rinse it thoroughly.)
As for xanthan gum, it’s not naturally occurring and can be difficult to digest. While it can help with structure, I prefer to use natural binders like psyllium husk instead. Plus, avoiding xanthan gives you the freedom to adjust texture per recipe.
Let’s Bake Together
If you’ve been struggling to find a reliable gluten-free flour blend for yeast bread, I really hope this post gives you the jumpstart you need. With just three flours, you’ll be amazed at what you can create.
Be sure to scroll down to the recipe card to grab the exact ratios and get started. Your dream gluten-free sandwich bread is waiting. And once you’ve made your first loaf? I promise you won’t look back.
Gluten Free Bread Flour Blend Recipe
Print RecipeIngredients
- 400 grams tapioca flour
- 400 grams millet flour
- 130 grams sorghum flour
Instructions
- Weigh your flours using a kitchen scale—this ensures accuracy (and consistency).
- Blend the flours together in a stand mixer using the paddle attachment on low speed for about 5 minutes.
- Store in an airtight container. At room temp, it lasts up to 3 months. Refrigerated, up to 6 months.