Homemade Gluten Free Strawberry Cake Recipe
Give me all the strawberry on strawberry on strawberry. This homemade strawberry cake just might be my favorite cake — in all her quaint glory. Light and fruity and that perfect dessert for welcoming spring. I’ve always paired my strawberry buttercream with my gluten-free vanilla cake and a lemon curd, which is BOMB. But there’s something so sweet about the simplicity of a two layer strawberry — strawberry cake. She’s seems so vintage and perfect.
Why You Will Love This Recipe:
- Bursting With Real Strawberry Flavor — This cake uses both fresh strawberry puree and freeze-dried strawberries in the frosting, giving every bite authentic, vibrant berry flavor — no artificial flavoring needed.
- Perfectly Moist Gluten-Free Texture — Thanks to avocado oil, sour cream, and fresh strawberries, this cake stays soft and tender for days. Many gluten-free cakes can be dry or crumbly, but this one stays rich and fluffy.
- Balanced Sweetness — The natural tartness from strawberries balances beautifully with the buttery frosting, so the cake tastes sweet without being overwhelming.
- Stunning Yet Simple — The natural pink color and fresh strawberry flavor make this cake feel bakery-worthy, but it’s approachable enough for home bakers. No artificial strawberry flavoring here!
- Great for Celebrations or Everyday Treats — This cake works beautifully for birthdays, baby showers, Valentine’s Day, spring gatherings, or anytime you want a bright and cheerful dessert.
Ingredients:
For the Cake
2 ½ cups gluten-free all-purpose flour
Use a high-quality 1:1 gluten-free flour blend that already contains xanthan gum. This helps mimic the structure of traditional flour, giving the cake stability and a tender crumb. Spoon and level the flour instead of scooping directly from the bag to avoid packing too much flour into the measuring cup.
2 teaspoons baking powder
Provides lift and lightness, helping the cake rise properly and stay fluffy.
½ teaspoon baking soda
Works with the sour cream and strawberries to create extra lift and a delicate texture.
1 teaspoon salt
Balances sweetness and enhances the natural strawberry flavor.
4 tablespoons salted butter, softened
Adds rich flavor and helps create a tender cake texture. The butter should be soft enough to easily press with your finger but not melted.
½ cup avocado oil
Keeps the cake extra moist and gives it a smooth, soft crumb. Avocado oil has a neutral flavor that won’t overpower the strawberries.
1 ½ cups granulated sugar
Sweetens the cake while also helping retain moisture and giving the cake a beautiful golden exterior.
4 large eggs, room temperature
Eggs provide structure, moisture, and richness. Room-temperature eggs blend more evenly into the batter, helping create a smoother cake texture.
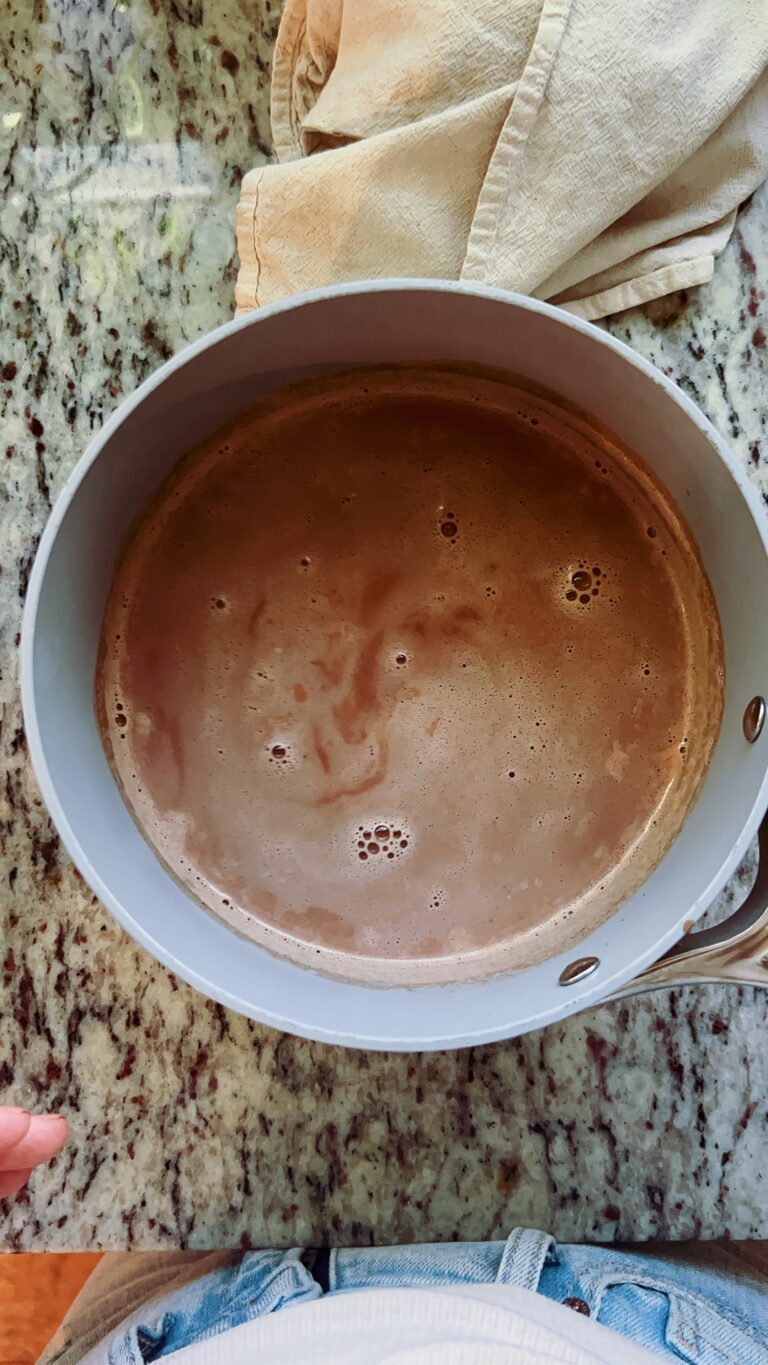
1 cup blended strawberries
Use fresh, ripe strawberries for the best flavor. Remove stems and blend until smooth. This adds natural sweetness, moisture, and a vibrant pink color to the cake.
1 tablespoon vanilla extract
Enhances and deepens the strawberry flavor while adding warmth and sweetness.
½ cup sour cream
Adds richness and tanginess while keeping the cake ultra moist. Full-fat sour cream is recommended for best texture and flavor.

For the Buttercream Frosting
2 Sticks Salted Butter, Softened
Butter is the base of the frosting and provides structure, richness, and smooth texture. Using salted butter balances the sweetness of the powdered sugar and enhances the strawberry flavor.
The butter should be softened to room temperature. It should feel soft when pressed but still hold its shape. Butter that is too cold won’t whip properly, and butter that is too melted can make the frosting runny.
1/3 Cup Pureed Strawberries
Fresh strawberry puree gives the buttercream a bright, natural strawberry flavor and beautiful pink color.
- Use ripe, fresh strawberries for the best flavor.
- Remove stems before blending.
- Blend until completely smooth.
- If the puree seems watery, you can lightly strain or simmer it for a few minutes to concentrate the flavor.
Fresh puree adds moisture and freshness that freeze-dried strawberries alone cannot provide.
6 Cups Powdered Sugar
Powdered sugar sweetens the buttercream while helping stabilize and thicken the frosting.
- Sifting is recommended to remove lumps and create a silky smooth buttercream.
- The large amount of powdered sugar helps balance the moisture from the strawberry puree and cream, allowing the frosting to hold its shape for piping and layering.
1/4 Cup Crushed Freeze-Dried Strawberries
Freeze-dried strawberries add an intense strawberry flavor without adding extra liquid.
- Crush them into a fine powder using a blender, food processor, or by placing them in a sealed bag and crushing with a rolling pin.
- They also naturally enhance the pink color of the frosting.
- This ingredient helps prevent the frosting from becoming too soft or watery while boosting berry flavor.
2 Tablespoons Heavy Cream
Heavy cream helps create a light, fluffy, and spreadable texture.
- It loosens the buttercream slightly, making it easier to pipe and spread.
- You can adjust the amount slightly to reach your desired consistency.
2 Teaspoons Vanilla Extract
Vanilla enhances the sweetness and rounds out the strawberry flavor, giving the buttercream a warm and balanced taste. Pure vanilla extract is recommended for the best flavor.

Instructions:
For the Cake
1. Prepare the Cake Pans
Prepare two round 8-inch cake pans by lightly greasing the bottom and sides with nonstick spray, butter, or oil. Line the bottoms with parchment paper circles, then lightly grease the parchment as well. This ensures the cakes release easily and prevents sticking, which is especially important for gluten-free cakes since they are slightly more delicate.
Tip: If you don’t have parchment circles, place the pan on parchment paper, trace the bottom, and cut it out.
2. Preheat the Oven
Preheat your oven to 350°F (175°C). Allow the oven to fully preheat before baking to ensure even rising and proper texture. Position a rack in the center of the oven for best heat circulation.
3. Mix the Dry Ingredients
In a medium mixing bowl, whisk together:
- Gluten-free flour
- Baking powder
- Baking soda
- Salt
Whisking helps evenly distribute the leavening agents and removes any flour clumps, which helps create a smooth and evenly textured cake.
4. Cream the Butter, Oil, and Sugar
In a stand mixer fitted with the paddle attachment:
- Beat the softened butter and avocado oil together for about 1 minute.
- The mixture may look slightly lumpy or resemble cottage cheese — this is normal.
- Add the sugar and beat on medium speed for 3–5 minutes until the mixture becomes light, fluffy, and pale in color.
This step incorporates air into the batter, which helps create a soft and tender cake crumb. Don’t rush this step — it makes a big difference in gluten-free baking.
5. Add Eggs, Strawberries, and Vanilla
- Add eggs one at a time, mixing well after each addition.
- Scrape down the sides of the bowl as needed to ensure everything mixes evenly.
- Mix in the blended strawberries and vanilla extract until fully incorporated.
The batter may look slightly curdled from the strawberries — this is completely normal and will smooth out once the dry ingredients are added.
6. Alternate Dry Ingredients and Sour Cream
With the mixer on low speed:
- Add about 1/3 of the flour mixture
- Add ½ of the sour cream
- Add another 1/3 of the flour mixture
- Add the remaining sour cream
- Finish with the final portion of flour
Mix just until combined after each addition. Avoid overmixing the cake batter, as this can make gluten-free cakes dense or gummy.
Scrape the bowl and give the batter one final gentle stir to ensure everything is evenly incorporated.
7. Fill the Cake Pans and Bake
- Divide the batter evenly between the prepared pans.
- Use a spatula to smooth the tops for even baking.
- Lightly tap the pans on the counter to release trapped air bubbles.
Bake for 20–25 minutes, or until:
- A toothpick or cake tester inserted into the center comes out with only a few moist crumbs
- The tops spring back lightly when touched
- The edges begin to pull slightly away from the pan
Avoid opening the oven during the first 18–20 minutes, as this can cause the cakes to sink.
8. Cooling the Cakes
- Allow cakes to cool in the pans for 10–15 minutes.
- Carefully run a knife around the edges.
- Turn cakes onto a cooling rack and remove parchment paper.
- Let cakes cool completely before frosting.
Gluten-free cakes are fragile when warm but firm up beautifully as they cool.

For the Frosting
1. Whip the Butter
Place the softened butter into a stand mixer fitted with the paddle attachment (or use a hand mixer with a large mixing bowl). Beat the butter on medium speed for 2–3 minutes until it becomes smooth, creamy, and slightly lighter in color.
Properly whipping the butter creates the foundation for a fluffy buttercream and helps prevent a dense or greasy texture.
Scrape down the sides and bottom of the bowl to ensure all butter is evenly mixed.
2. Add the Strawberry Puree
Pour in the strawberry puree and mix on low to medium speed until fully combined. The mixture may look slightly separated or curdled at this stage — this is completely normal and will smooth out as the powdered sugar is added.
Make sure the puree is smooth with no chunks to keep the buttercream silky.
Scrape the bowl again to ensure even mixing.
3. Add Powdered Sugar Gradually
With the mixer on low speed, add the powdered sugar one cup at a time, allowing each addition to fully incorporate before adding more.
- This prevents sugar from flying out of the bowl.
- It also helps the buttercream stay smooth and lump-free.
After all the powdered sugar has been added, scrape down the bowl and mix again briefly to ensure everything is evenly combined.
4. Add Freeze-Dried Strawberries
Add the crushed freeze-dried strawberries and mix on low speed until evenly distributed.
These strawberries intensify the strawberry flavor and naturally deepen the pink color while helping thicken and stabilize the frosting.
5. Add Vanilla and Heavy Cream
Pour in the vanilla extract and heavy cream. Mix on low speed until combined.
The cream helps loosen the frosting and creates a smooth, spreadable consistency.
You can adjust the texture by adding a small splash more cream if the frosting feels too thick.
6. Whip Until Light and Fluffy
Increase the mixer speed to medium-high and beat the buttercream for about 5 minutes.
During this time, the frosting will:
- Become lighter in color
- Increase in volume
- Develop a fluffy, smooth texture
- Become easier to spread and pipe
Stop halfway through to scrape the bowl to ensure everything whips evenly.

For Assembly
1. Make Sure Cakes Are Completely Cool
Allow cake layers to cool fully before assembling. Warm cake layers can melt the frosting and cause sliding.
For best results, you can wrap cooled layers in plastic wrap and chill them for 30–60 minutes. This makes them easier to frost.
2. Level the Cake Layers
If the cake layers have domed tops, use a serrated knife or cake leveler to gently trim them flat. Level layers help the cake stack evenly and look more polished.
3. Prepare the Cake Base
Place one cake layer onto a cake stand or serving plate.
Optional tip: Place small strips of parchment paper under the cake edges to keep your serving plate clean while frosting.
4. Add the Filling Layer
- Spread a generous layer of strawberry buttercream (about ¾–1 cup) evenly over the first cake layer.
- Use an offset spatula or spoon to spread the frosting all the way to the edges.
For extra stability, you can pipe a thin ring of frosting around the outer edge before filling the center.
5. Add the Second Cake Layer
Carefully place the second cake layer on top, bottom side facing up. This gives you a smoother, flatter top surface.
Gently press down to secure the layer without squeezing out the filling.
6. Apply a Crumb Coat
Spread a thin layer of frosting over the entire cake. This traps loose crumbs and creates a smooth base for the final frosting layer.
Place the cake in the refrigerator for 20–30 minutes to allow the crumb coat to set.
7. Frost the Cake
After chilling:
- Add a thicker layer of buttercream around the sides and top.
- Smooth using an offset spatula or bench scraper.
- Create swirls, texture, or a smooth finish depending on your decorating style.
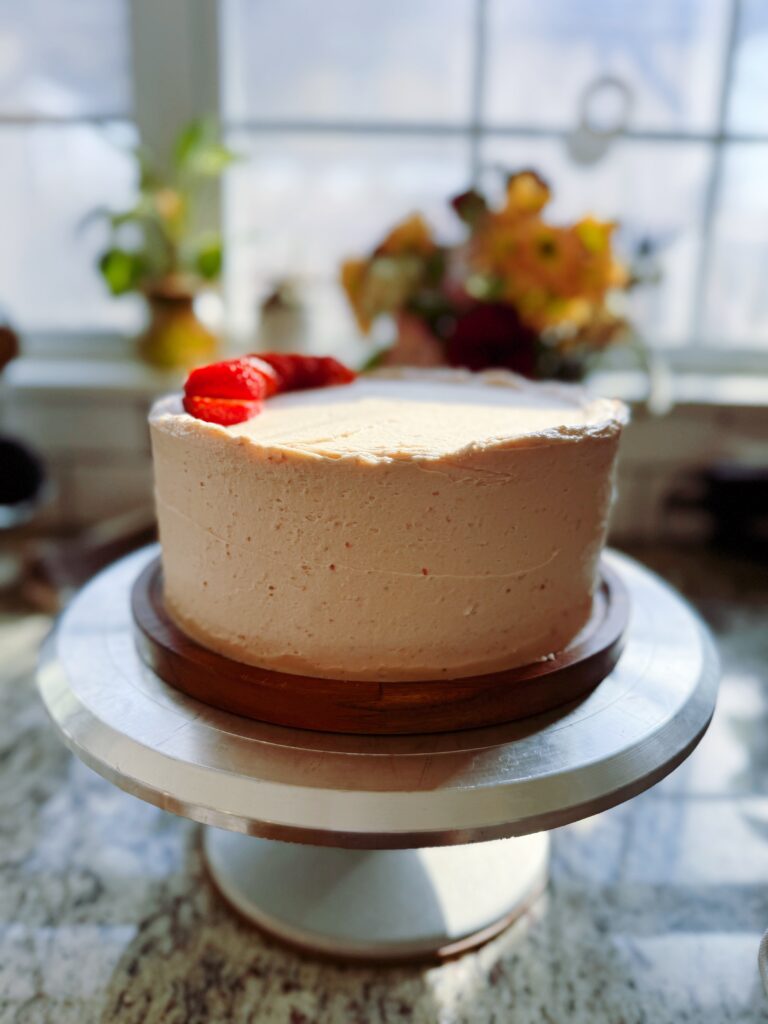
8. Decorate (Optional but Beautiful)
Top with:
Fresh strawberries
Piped buttercream swirls
Freeze-dried strawberry crumbs
Sprinkles or white chocolate drizzle
9. Chill Before Serving
Refrigerate the finished cake for about 30 minutes to help the frosting set and make slicing cleaner.
Remove from the fridge about 20–30 minutes before serving so the cake softens to the perfect texture. Store leftovers in an airtight container or cake carrier.
Check out the recipe card below!

Homemade Gluten Free Strawberry Cake Recipe
Ingredients
For the Cake
- 2 ½ cups gluten-free all-purpose flour
- 2 teaspoons baking powder
- ½ teaspoon baking soda
- 1 teaspoon salt
- 4 tablespoons salted butter softened
- ½ cup avocado oil
- 1 ½ cups granulated sugar
- 4 large eggs room temperature
- 1 cup blended strawberries
- 1 tablespoon vanilla extract
- ½ cup sour cream
For the Frosting
- 3 Sticks Salted Butter Softened
- 1/3 Cup Pureed Strawberries
- 7 Cups Powdered Sugar
- 1/4 Cup Crushed Freeze-Dried Strawberries
- 2 Tablespoons Heavy Cream
- 2 Teaspoons Vanilla Extract
Instructions
For the Cake
- Prepare two round 8-inch cake pans by lining the bottoms with parchment paper circles
- Preheat your oven to 350°F (175°C).
- In a medium mixing bowl, whisk together: Gluten-free flour, Baking powder, Baking soda and Salt.
- In a stand mixer fitted with the paddle attachment beat the softened butter and avocado oil together for about 1 minute. The mixture may look slightly lumpy or resemble cottage cheese — this is normal. Add the sugar and beat on medium speed for 3–5 minutes until the mixture becomes light, fluffy, and pale in color.
- Add eggs one at a time, mixing well after each addition. Scrape down the sides of the bowl as needed to ensure everything mixes evenly. Mix in the blended strawberries and vanilla extract until fully incorporated.
- With the mixer on low speed: Add about ? of the flour mixture, Add ½ of the sour cream, Add another ? of the flour mixture, Add the remaining sour cream, Finish with the final portion of flour. Avoid overmixing the cake batter, as this can make gluten-free cakes dense or gummy.
- Divide the batter evenly between the prepared pans. Use a spatula to smooth the tops for even baking. Lightly tap the pans on the counter to release trapped air bubbles. Bake for 20–25 minutes.
- Allow cakes to cool in the pans for 10–15 minutes. Let cakes cool completely before frosting.
For the Frosting
- Place the softened butter into a stand mixer fitted with the paddle attachment (or use a hand mixer with a large mixing bowl). Beat the butter on medium speed for 2–3 minutes until it becomes smooth, creamy, and slightly lighter in color.
- Pour in the strawberry puree and mix on low to medium speed until fully combined. Scrape the bowl again to ensure even mixing.
- With the mixer on low speed, add the powdered sugar one cup at a time, allowing each addition to fully incorporate before adding more. After all the powdered sugar has been added, scrape down the bowl and mix again briefly to ensure everything is evenly combined.
- Add the crushed freeze-dried strawberries and mix on low speed until evenly distributed.
- Pour in the vanilla extract and heavy cream. Mix on low speed until combined.
- Increase the mixer speed to medium-high and beat the buttercream for about 5 minutes.
This Gluten-Free Strawberry Cake is the perfect combination of soft, moist cake layers and rich, fluffy strawberry buttercream made with real strawberries. The cake is packed with fresh strawberry flavor from blended berries in the batter, while avocado oil and sour cream create an incredibly tender crumb that stays moist for days. Paired with a naturally flavored strawberry buttercream enhanced with freeze-dried strawberries, this cake delivers bold berry flavor in every bite.
This recipe is approachable for home bakers while still creating a bakery-quality dessert that feels special enough for celebrations. Whether you are baking for birthdays, holidays, spring gatherings, or simply craving a bright and cheerful dessert, this cake is guaranteed to impress. Even better, no one will believe it is gluten free thanks to its soft texture and perfectly balanced sweetness.
If you are looking for a reliable, flavorful gluten-free cake that is as beautiful as it is delicious, this strawberry cake is one you will come back to again and again.