The Fluffiest Gluten Free Angel Food Cake Recipe
This blog may contain affiliate links from which I earn a small commission.
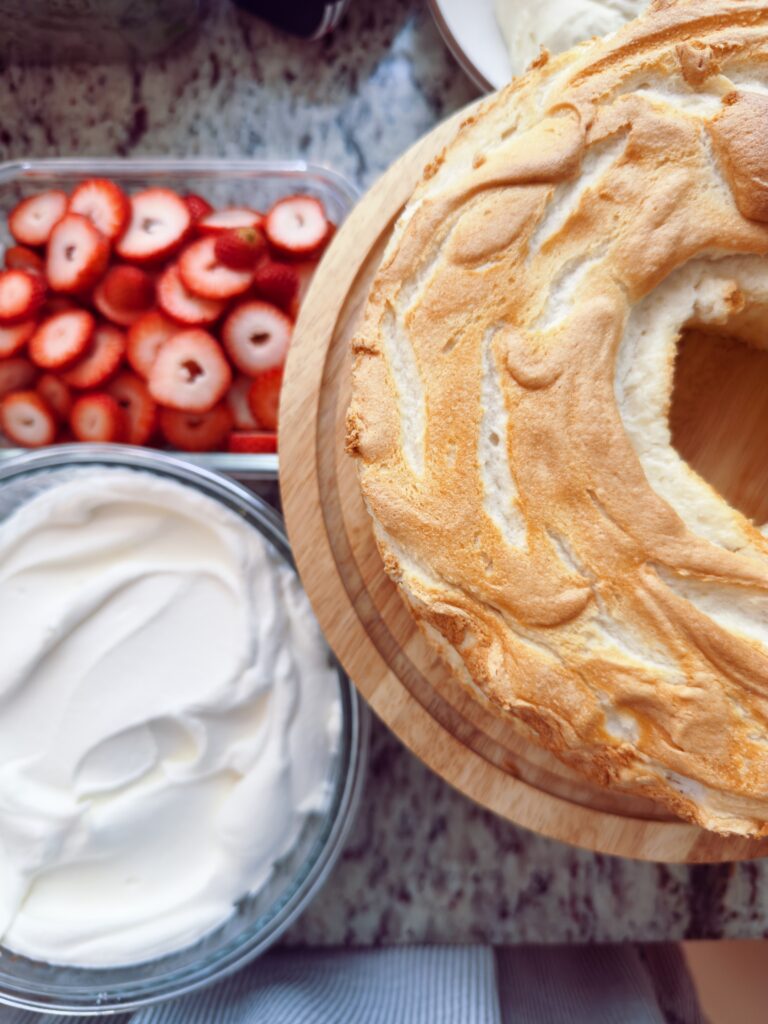
Growing up I (my mom too) always made angel food cake from a box (I know, I gasp HA). But for a few birthdays, this was my requested cake. Light and airy and almost a refreshing dessert.
Then I didn’t make it again for many years, post being diagnosed with Celiac. The next time I made I made this type of cake was for my sister-in-law’s birthday, just a few years again. So this Easter I decided it was time to fine-tune my own recipe for gluten free angel food cake, and I surprised myself – it was perfectly fluffy and delicious and delightfully Spring-like! A gluten free dessert that tastes like traditional angel food cake!
Why You Will Love This Recipe:
This gluten-free angel food cake is everything a classic should be— a light cake, perfectly sweet and airy, with a delicate crumb that practically melts in your mouth. It’s made with simple, pantry-friendly ingredients and comes together without any complicated techniques.
You’ll love how this recipe proves that gluten-free baking can still be soft, fluffy, and bakery-quality. The combination of whipped egg whites and a carefully balanced flour blend creates that signature cloud-like texture—no one will ever guess it’s gluten-free.
It’s also naturally dairy-free, low in fat, and perfect for spring and summer gatherings, making it a go-to dessert when you want something elegant but effortless.
Ingredients:
- 12 large egg whites, room temperature (about 1 1/2 cups; make sure there is no trace of egg yolks—even a speck of egg yolk can prevent proper whipping)
- 1 1/2 teaspoons cream of tartar (helps stabilize the egg whites and create that signature fluffy structure)
- 1 1/2 cups granulated sugar, divided (you’ll use part for whipping into the egg whites and part for sifting with the dry ingredients; superfine sugar works best if you have it)
- 2 teaspoons pure vanilla extract (adds light, classic flavor—avoid imitation for best results)
- 1/2 teaspoon fine sea salt (balances sweetness and enhances overall flavor)
- 3/4 cup gluten-free all-purpose flour (use a cup-for-cup blend that includes xanthan gum for structure; sift well to avoid lumps)
- 1/4 cup cornstarch (lightens the texture and mimics the softness of traditional cake flour—sift together with the flour and sugar for best results)
Instructions:
1. Preheat & Prep
Preheat your oven to 350°F. Make sure your oven rack is positioned in the lower-middle of the oven.
Do not grease your angel food cake pan—this is essential so the batter can cling to the sides and rise properly.
2. Whip the Egg Whites
In a large, clean glass or metal mixing bowl, add the room temperature egg whites and cream of tartar. I will store the egg yolks in an airtight container to make pudding with later!
Using a hand mixer or stand mixer with the whisk attachment, beat on medium speed until the mixture becomes foamy and bubbly.
3. Build the Meringue
Increase the speed to medium-high. Gradually add the sugar, a few tablespoons at a time, allowing it to incorporate slowly (this helps stabilize the meringue).
Add the vanilla extract.
Continue whipping until soft peaks form (about 3–5 minutes). The mixture should be glossy, smooth, and hold gentle peaks that slightly fold over at the tip.
4. Prepare Dry Ingredients
In a medium bowl, whisk together the gluten-free flour, cornstarch, and salt.
For best results, sift this mixture 2–3 times to remove lumps and create a light, airy texture.
5. Gently Incorporate Dry Ingredients
Reduce mixer speed to low (or switch to folding by hand for best control).
Add the flour mixture 1/4 cup at a time, gently incorporating after each addition.
If folding by hand, use a spatula and fold with a cut-down-the-middle and sweep-around motion to avoid deflating the batter.
Mix just until combined—do not overmix, or you’ll lose volume.
6. Transfer to Pan
Carefully pour the cake batter into your ungreased angel food cake pan.
Gently smooth the top with a spatula.
Run a knife or spatula through the batter in a circular or zig-zag motion to eliminate air pockets and create that classic airy crumb.
7. Bake
Bake for 30–35 minutes, or until the top is light golden brown and springs back when lightly touched.
Avoid opening the oven door during baking, as this can cause the cake to collapse.
8. Cool Upside Down
Immediately remove the cake from the oven and and turn the cake upside down to invert the pan onto a metal funnel, bottle, or its built-in legs.
Let the cake cool completely upside down for at least 2 hours. This step is crucial to prevent the cake from sinking.
9. Release the Cake
Once fully cooled, turn the pan right-side up.
Run a thin knife or offset spatula gently around the sides of the pan and the center tube to release the cake.
Carefully turn it out onto a serving platter.
10. Slice & Serve
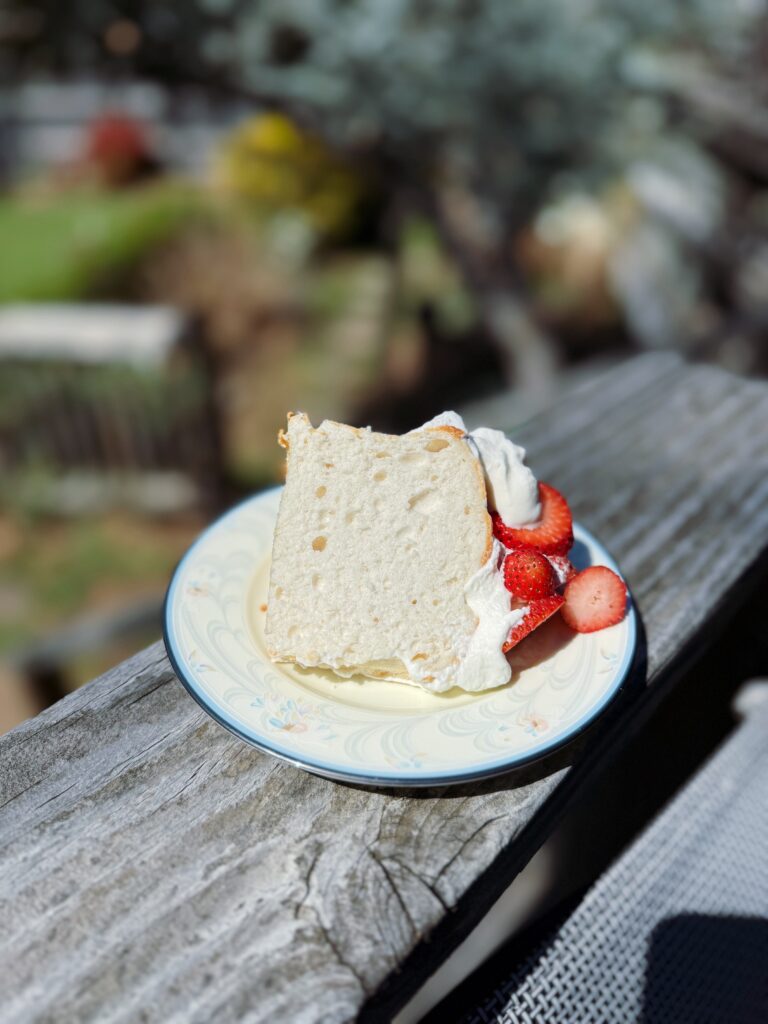
Use a serrated knife (or even a gentle sawing motion) to cut slices without squishing the cake.
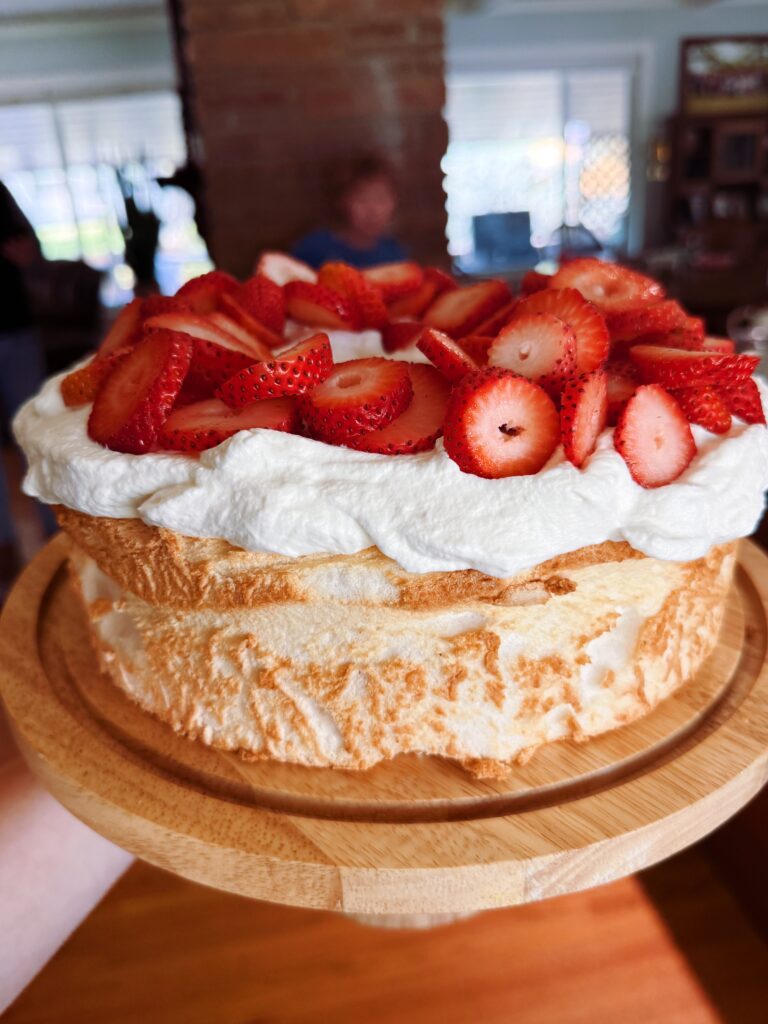
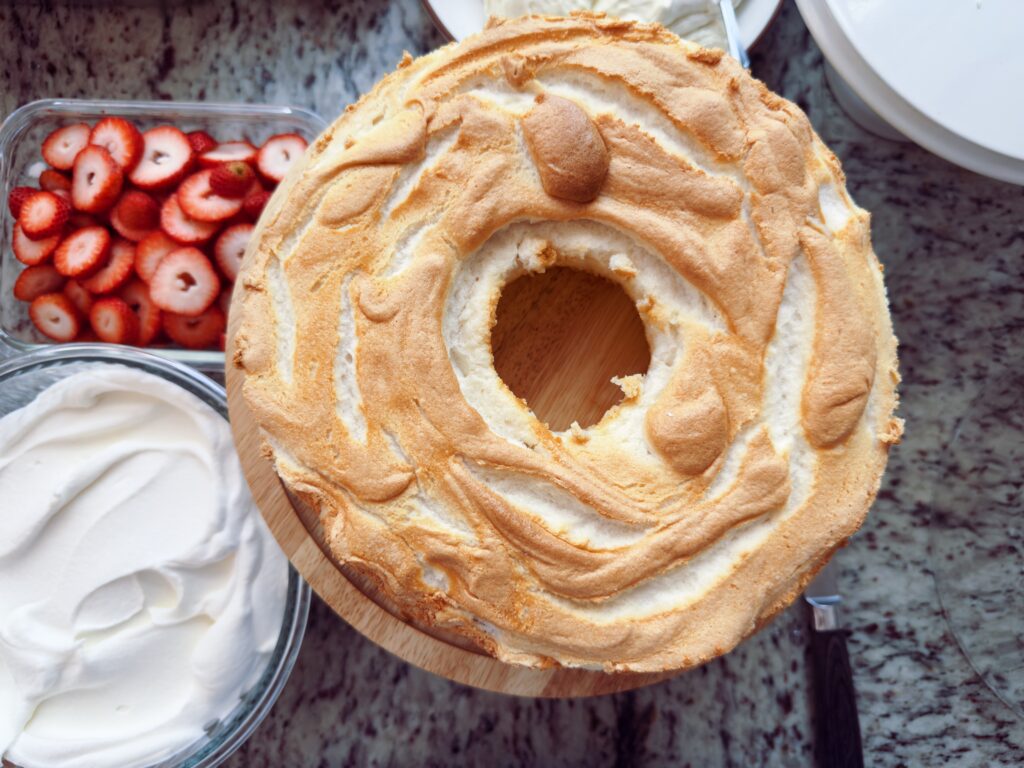
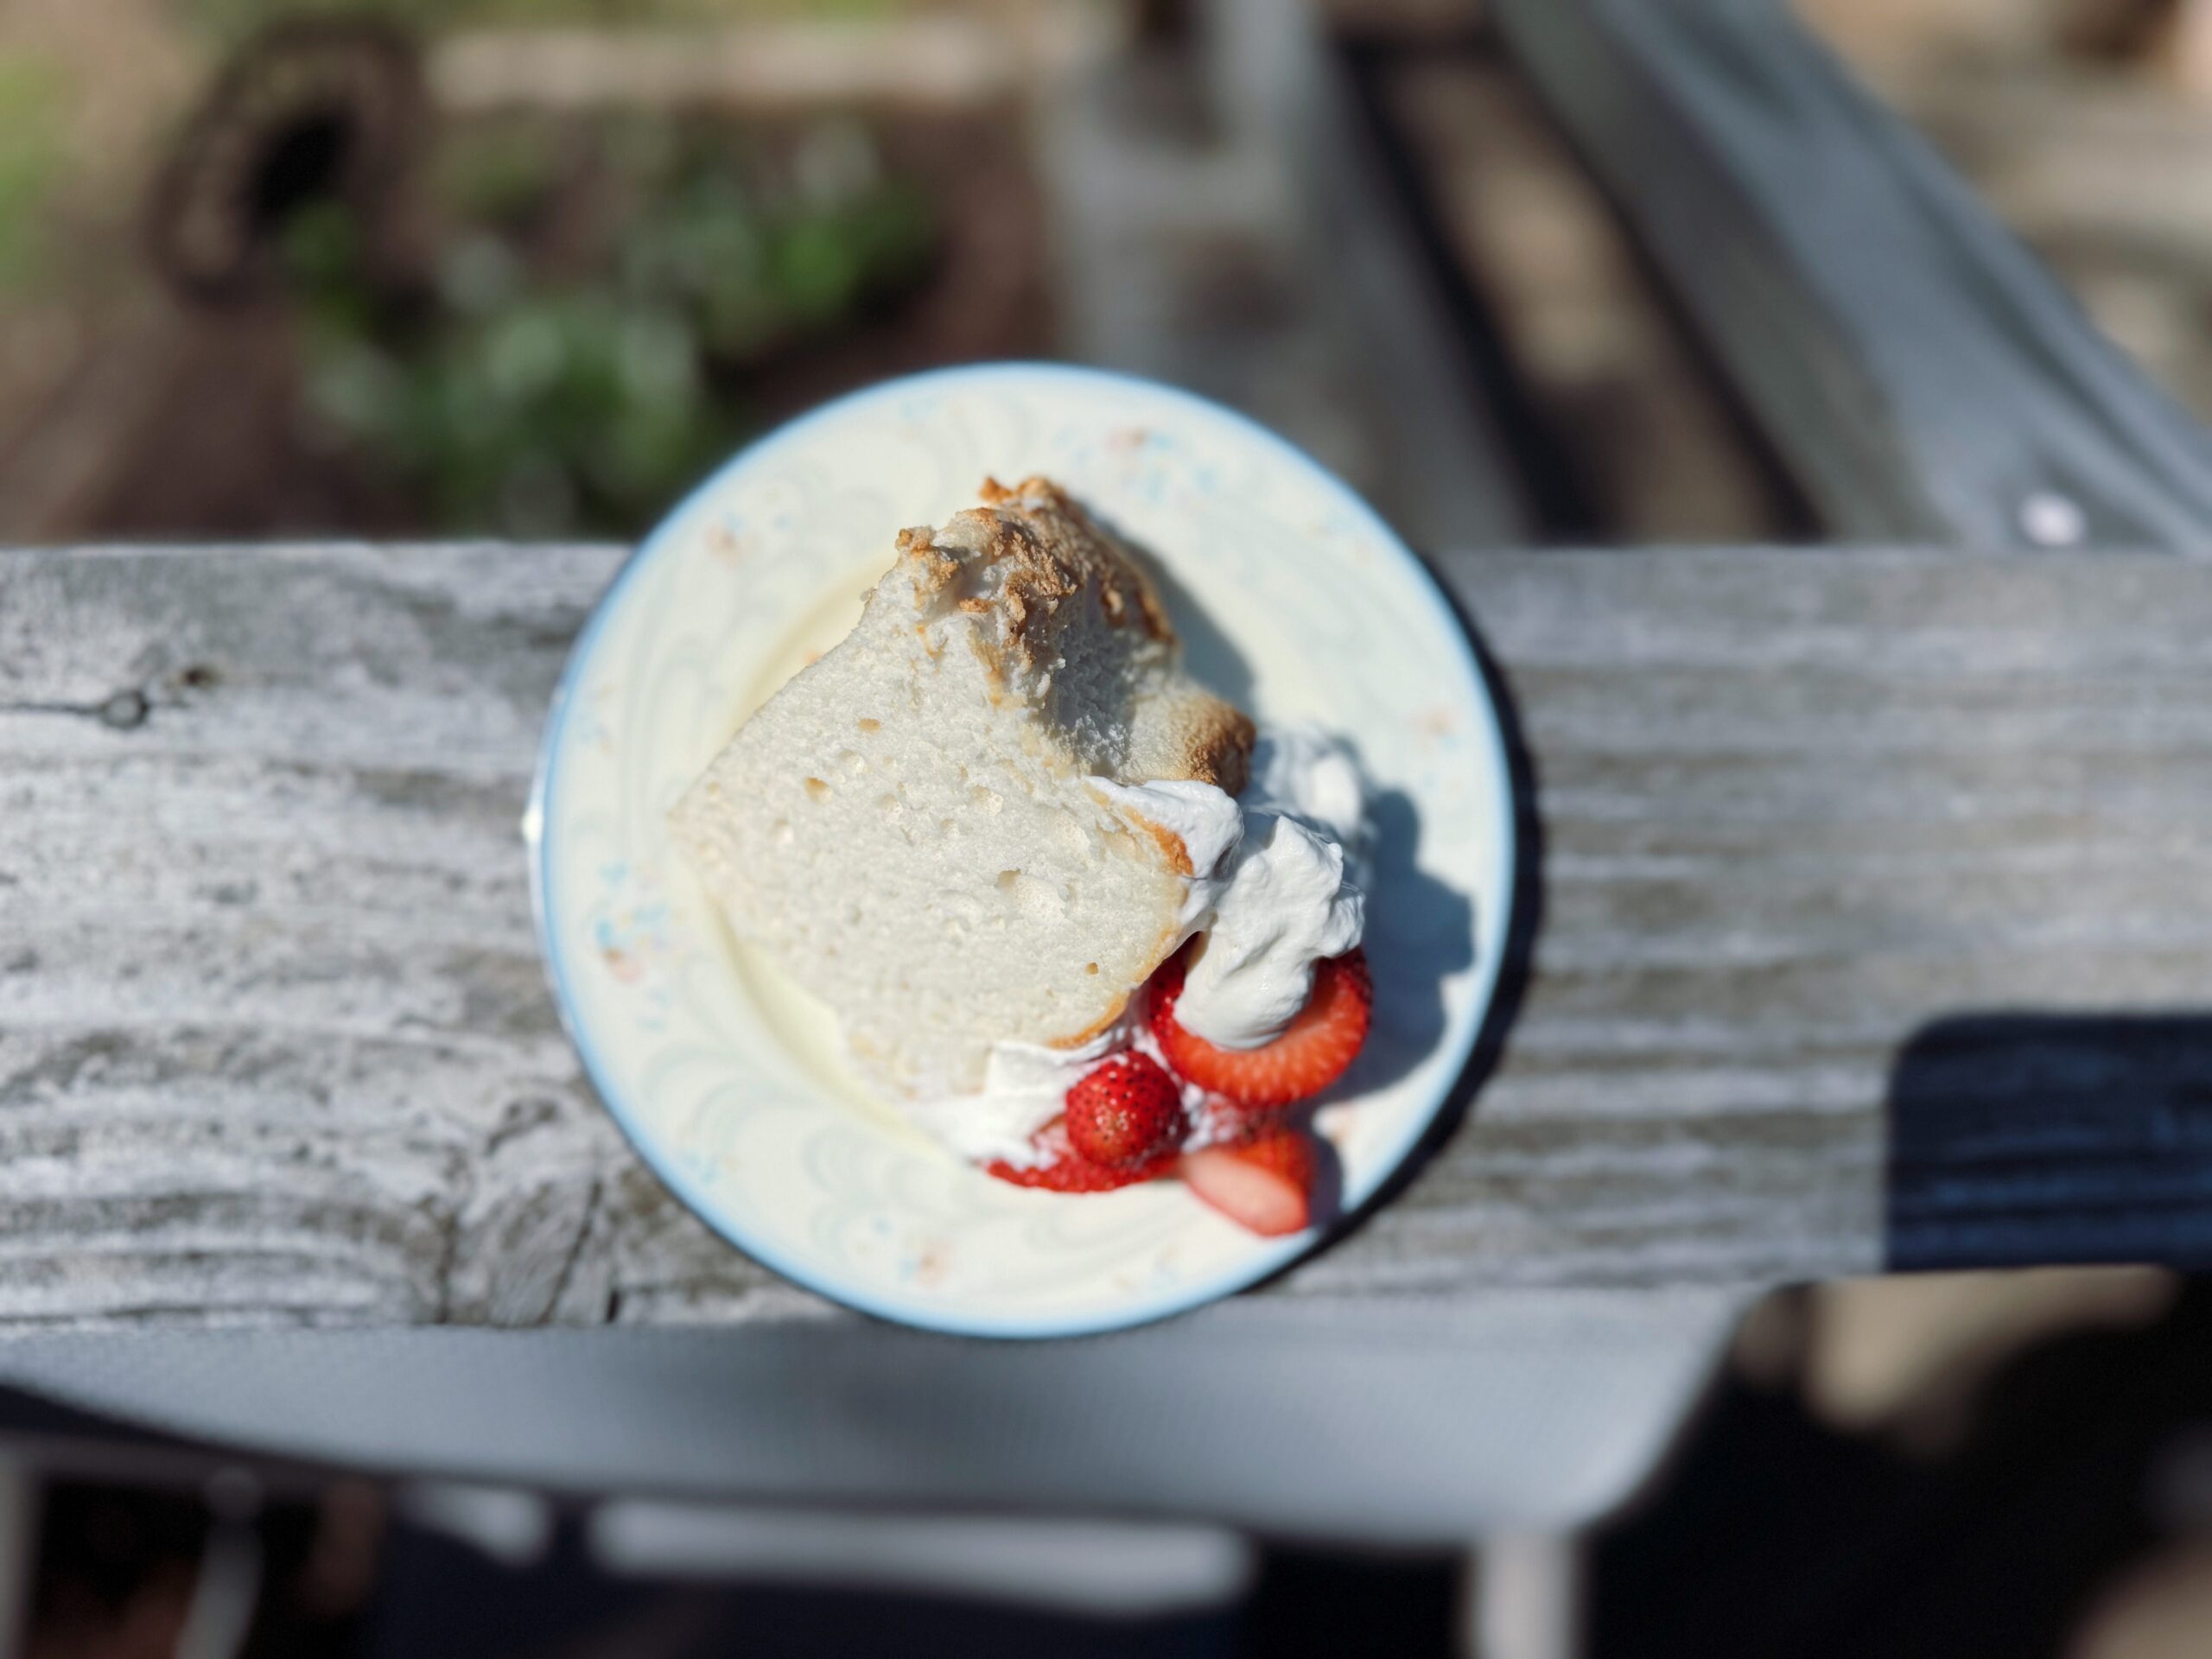
Serve with fresh fruit, berries, or homemade whipped cream for a light and beautiful dessert.
Helpful Hints:
Egg White Success
- Absolutely no fat or yolk: Even a tiny bit will prevent stiff peaks. Wipe your bowl and beaters with vinegar or lemon juice before starting.
- Room temp is key: Egg whites whip faster and reach better volume when not cold.
- Use a metal or glass bowl: Plastic can hold onto grease and ruin your meringue.
Perfect Meringue
- Add sugar slowly: Once soft peaks form, gradually add sugar 1–2 tablespoons at a time to avoid deflating the mixture.
- Look for stiff, glossy peaks: The peaks should stand straight up but still look smooth—not dry or clumpy.
- Don’t overbeat: If the mixture looks grainy, it’s gone too far and won’t rise properly.
Gluten-Free Texture Tips
- Sift multiple times: Sift the gluten-free flour, cornstarch, and sugar at least 2–3 times for a super light texture.
- Fold gently: Use a spatula and fold in the dry ingredients in small batches—cut through the center and sweep around the bowl to keep as much air as possible.
- Work in batches: Adding all the dry ingredients at once can deflate your batter.
Baking Like a Pro
- Use an ungreased tube pan: The batter needs to cling to the sides to rise properly—don’t grease it!
- Run a knife through batter: Gently swirl a knife through before baking to remove air pockets.
- Bake until golden and springy: The top should bounce back when lightly touched.
Cooling is Crucial
- Cool upside down immediately: Invert the pan onto a bottle or cooling legs to prevent collapsing.
- Let it cool completely in the pan: This helps the structure set and keeps it tall and fluffy.
Clean Release
- Use a serrated knife or offset spatula: Run it gently around the edges to release without tearing.
Bonus Tip (Game-Changer)
If your sugar isn’t superfine, pulse it briefly in a blender or food processor before using—this helps it dissolve better into the egg whites and creates a smoother, more stable meringue.
Perfect Pairings:
This cake is a blank canvas for so many delicious toppings and sides. Here are some of the best ways to serve it:
- Fresh berries: Strawberries, blueberries, raspberries, or a mixed berry medley add brightness and natural sweetness
- Homemade whipped cream: Lightly sweetened with vanilla for the perfect creamy contrast
- Lemon curd: Adds a tangy, citrusy layer that pairs beautifully with the airy cake
- Macerated fruit: Toss sliced strawberries or peaches with a little sugar to create a juicy topping
- Chocolate drizzle: A light drizzle of melted chocolate adds a touch of richness
- Vanilla ice cream: For a more indulgent dessert option
- Toasted coconut or sliced almonds: Adds texture and a subtle nutty flavor
For drinks, serve alongside coffee, tea, or a light sparkling beverage for a simple but elevated dessert moment.
Favorite Tools:
Check out the recipe card below to make this gluten-free angel food cake recipe!
The Fluffiest Gluten Free Angel Food Cake Recipe
Ingredients
- 12 large egg whites room temperature (about 1 1/2 cups)
- 1 1/2 teaspoons cream of tartar
- 1 1/2 cups granulated sugar
- 2 teaspoons pure vanilla extract
- 1/2 teaspoon fine sea salt
- 3/4 cup gluten-free all-purpose flour
- 1/4 cup cornstarch
Instructions
Preheat & Prep
- Preheat your oven to 350°F. Make sure your oven rack is positioned in the lower-middle of the oven.
- Do not grease your angel food cake pan—this is essential so the batter can cling to the sides and rise properly.
Whip the Egg Whites
- In a large, clean glass or metal mixing bowl, add the room temperature egg whites and cream of tartar. I will store the egg yolks in an airtight container to make pudding with later!
- Using a hand mixer or stand mixer with the whisk attachment, beat on medium speed until the mixture becomes foamy and bubbly.
Build the Meringue
- Increase the speed to medium-high. Gradually add the sugar, a few tablespoons at a time, allowing it to incorporate slowly (this helps stabilize the meringue).
Add the vanilla extract.
- Continue whipping until soft peaks form (about 3–5 minutes). The mixture should be glossy, smooth, and hold gentle peaks that slightly fold over at the tip.
Prepare Dry Ingredients
- In a medium bowl, whisk together the gluten-free flour, cornstarch, and salt.
- For best results, sift this mixture 2–3 times to remove lumps and create a light, airy texture.
Gently Incorporate Dry Ingredients
- Reduce mixer speed to low (or switch to folding by hand for best control).
- Add the flour mixture 1/4 cup at a time, gently incorporating after each addition.
- If folding by hand, use a spatula and fold with a cut-down-the-middle and sweep-around motion to avoid deflating the batter.
- Mix just until combined—do not overmix, or you’ll lose volume.
Transfer to Pan
- Carefully pour the cake batter into your ungreased angel food cake pan.
- Gently smooth the top with a spatula.
- Run a knife or spatula through the batter in a circular or zig-zag motion to eliminate air pockets and create that classic airy crumb.
Bake
- Bake for 30–35 minutes, or until the top is light golden brown and springs back when lightly touched.
- Avoid opening the oven door during baking, as this can cause the cake to collapse.
Cool Upside Down
- Immediately remove the cake from the oven and and turn the cake upside down to invert the pan onto a metal funnel, bottle, or its built-in legs.
- Let the cake cool completely upside down for at least 2 hours. This step is crucial to prevent the cake from sinking.
Release the Cake
- Once fully cooled, turn the pan right-side up.
- Run a thin knife or offset spatula gently around the sides of the pan and the center tube to release the cake.
- Carefully turn it out onto a serving platter.
Slice & Serve
- Use a serrated knife (or even a gentle sawing motion) to cut slices without squishing the cake.
- Serve with fresh fruit, berries, or homemade whipped cream for a light and beautiful dessert.
If you’ve been searching for a truly perfect gluten-free angel food cake, this is the recipe you’ll come back to again and again. Made with whipped egg whites, a touch of vanilla, and a light gluten-free flour blend, this cake bakes up tall, tender, and beautifully golden every time.
With a few simple techniques—like properly whipping the meringue and gently folding in the dry ingredients—you’ll achieve that iconic airy texture without any gluten. Whether you’re serving it at a holiday, brunch, or just because, this cake delivers a classic dessert experience that everyone can enjoy.