Homemade Gluten-Free Oreos Recipe | Easy and Fun
This blog may contain affiliate links from which I earn a small commission.
The goal was homemade dirt cups (minus the gummy worms – that’s for another day!) per the request of my boys! I have always loved using gluten-free Oreos in my baking (even more than the ones with gluten) and a fan favorite is my cookies and cream cake – a must try. I just don’t love all the added “stuff”. So I wanted to make a gluten-free version of Oreos that create that nostalgic treat without all the added junk.
Onward! To where homemade Oreo cookies and gluten-free baking collide! (Now I think a gluten free Oreo cheesecake is in order!)

Why You Will Love This Recipe:
- Just like the classic cookie – These cookies have that deep chocolate flavor and creamy filling that makes Oreos so irresistible.
- Perfectly crisp with a creamy center – The thin chocolate cookies bake up slightly crisp and sandwich a smooth vanilla cream filling.
- Completely gluten-free – Made with gluten-free flour so those avoiding gluten can still enjoy a classic cookie favorite.
- Simple process to make at home – Simple ingredients and straightforward steps make this recipe approachable for home bakers.
- Great for sharing – These cookies are perfect for parties, lunchboxes, holiday trays, or an after-dinner treat.
Ingredients:
Chocolate Cookies
1 ¼ cups gluten-free all-purpose flour – I also love using almond flour instead of GF flour! Use a cup-for-cup gluten-free flour blend that contains xanthan gum for the best texture and structure. If your flour blend does not include a binder, add ¼ teaspoon xanthan gum to help the cookies hold together.
½ cup Dutch-processed cocoa powder – Dutch cocoa has a deeper, smoother chocolate flavor and gives these cookies their classic dark Oreo color. It also creates a rich, slightly less acidic chocolate taste.
1 teaspoon baking soda – Acts as the leavening agent, helping the cookies spread slightly and creating the light crisp texture that sandwich cookies need.
? teaspoon salt – Enhances the chocolate flavor and balances the sweetness of the cookie and filling.
½ cup salted butter, room temperature – Softened butter creams smoothly with the sugar and helps create a rich, tender cookie texture. If using unsalted butter, simply add an extra pinch of salt to the dough.
½ cup granulated sugar – Provides sweetness and helps the cookies crisp up slightly as they bake.
¼ cup packed light brown sugar – Adds moisture and a subtle caramel flavor while helping create a slightly softer interior texture. You could substitute the sugars for coconut sugar.
1 large egg, room temperature – Helps bind the ingredients together and adds structure to the cookies. Room-temperature eggs mix more evenly into the dough.
1 teaspoon pure vanilla extract – Adds warmth and depth of flavor that enhances the chocolate.
Cream Filling
½ cup salted butter, room temperature – The base of the creamy filling. Softened butter whips easily and creates a smooth, fluffy texture similar to classic Oreo cream.
1 ¾ cups powdered sugar – Sweetens the filling and gives it the classic light, smooth consistency that pipes easily between the cookies.
1 teaspoon pure vanilla extract – Adds flavor and gives the filling that familiar sweet vanilla cream taste.
Instructions:
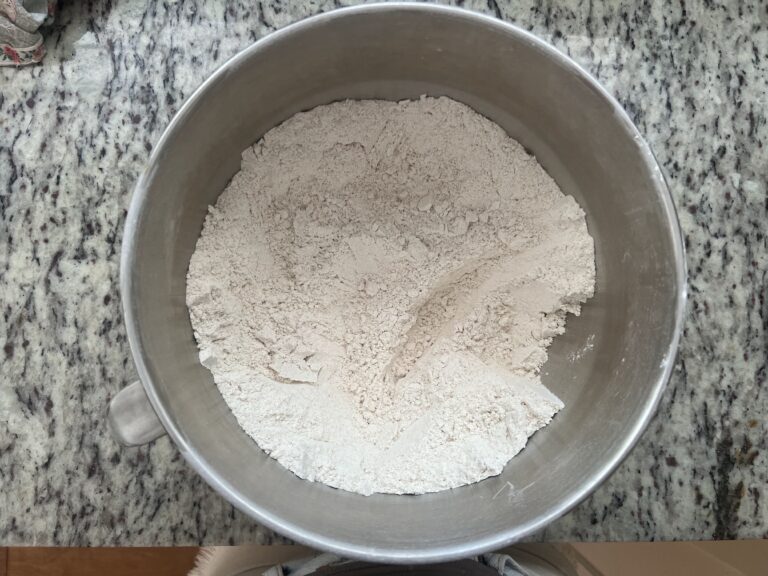
Prepare the dry ingredients.
In a medium mixing bowl, whisk together the gluten-free flour, cocoa powder, baking soda, and salt. Whisking helps evenly distribute the cocoa and leavening so the cookies bake consistently. Set the bowl aside.
2. Cream the butter and sugars.
In the bowl of a stand mixer fitted with the paddle attachment or whisk attachment, combine the granulated sugar, brown sugar, and softened butter. Beat on medium speed for about 2–3 minutes, until the mixture becomes light, fluffy, and slightly pale in color. Properly creaming the butter and sugars helps create a smooth cookie dough and improves the cookie texture.
3. Add the egg and vanilla.
Add the egg and vanilla extract to the butter mixture. Mix on medium speed until fully incorporated, scraping down the sides of the bowl as needed to ensure everything is evenly combined.
4. Add the dry ingredients.
Gradually add the flour mixture to the wet ingredients. Mix on low speed just until the dough comes together. Avoid overmixing, as this can make gluten-free cookies dense.
5. Scoop the cookie dough.
Using a ½ tablespoon (0.5 oz) cookie scoop, portion the dough into small balls. This ensures the cookies are uniform in size so they bake evenly.
6. Chill the dough.
Place the cookie dough balls onto a parchment-lined baking sheet and refrigerate for about 10 minutes. Chilling helps firm up the dough, making it easier to flatten and helping the cookies maintain their shape while baking.
7. Preheat the oven.
While the dough chills, preheat your oven to 350°F and line another baking sheet with parchment paper.
8. Flatten the cookies.
Place a piece of parchment paper over the chilled dough balls. Using the bottom of a mason jar or flat glass, gently press each dough ball into a thin cookie disc, about ¼ inch thick. Oreo-style cookies are thin, so flattening them well is important.
9. Arrange the cookies.
Transfer the flattened cookies to the prepared baking sheet, spacing them about 2 inches apart to allow for slight spreading during baking.
10. Bake the cookies.
Bake cookies for 8–10 minutes, or until the cookies are set around the edges. The centers may still appear slightly soft, but they will firm up as they cool.
11. Cool the cookies.
Allow the cookies to cool on the baking sheet for about 3 minutes before transferring them to a wire cooling rack. Let them cool completely on the wire rack before adding the filling.
Make the Cream Filling
12. Prepare the frosting.
In a mixing bowl, whisk or beat together the softened butter, powdered sugar, and vanilla extract until smooth, creamy, and fluffy. If needed, beat for 2–3 minutes to create a light texture similar to classic Oreo filling.
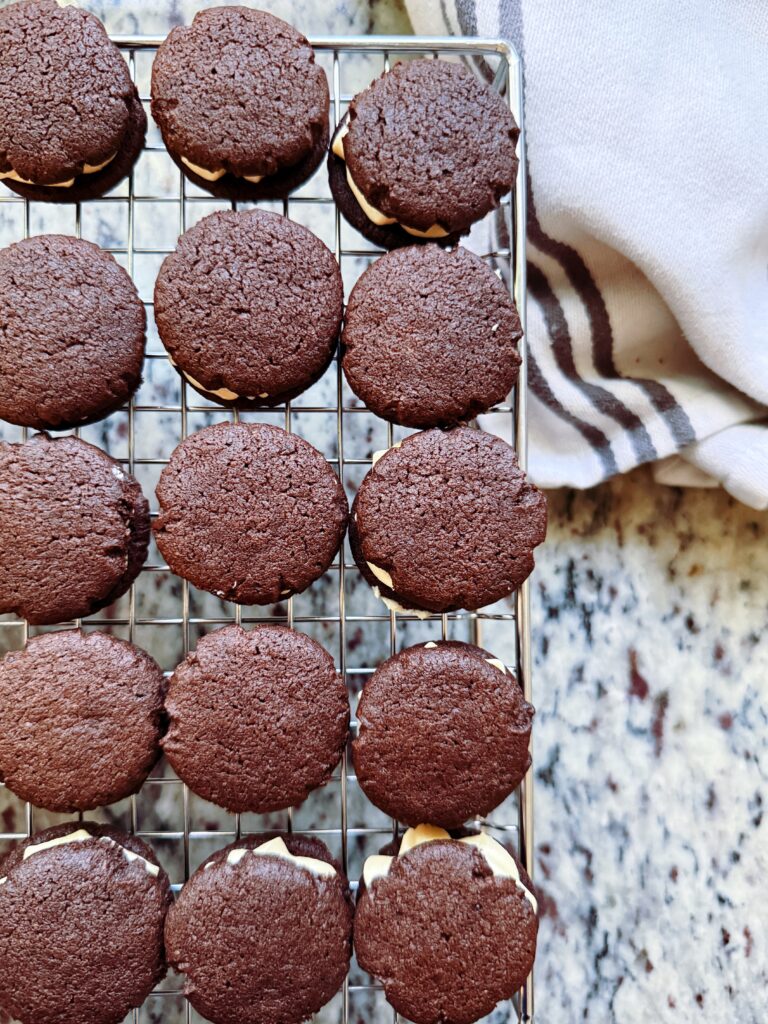
13. Assemble the cookies.
Once the cookies have completely cooled, pipe with a piping bag or spread with offset spatula the filling onto the flat side of one cookie. Place another cookie on top and gently press down to create a sandwich cookie.

Storage:
Store the assembled cookies in an airtight container at room temperature for up to 4 days. They can also be stored in the refrigerator for up to one week.
Tips and Tricks:
Perfect Pairings:
These gluten-free Oreo cookies are delicious on their own, but they pair wonderfully with:
• A cold glass of milk or dairy-free milk
• Coffee or espresso drinks
• Vanilla ice cream for homemade cookie sandwiches
• Crushed over ice cream sundaes
• Added to gluten-free milkshakes
Filling Variations:
You can also easily change the filling flavor:
- Chocolate Cream: Add 2 tablespoons cocoa powder to the filling.
- Mint Cream: Add ¼ teaspoon peppermint extract.
- Cookies & Cream: Mix 2 tablespoons crushed cookies into the filling.
Tips and Tricks:
Use a quality gluten-free flour blend
Choose a cup-for-cup gluten-free flour blend that contains xanthan gum. This helps give the cookies structure and prevents them from becoming crumbly.
Don’t overbake
These cookies are meant to be thin and crisp, but overbaking can make them too hard. Remove them from the oven when the edges are set.
Flatten the cookies thin
Classic Oreo cookies are thin, so be sure to press the dough down well before baking.
Let the cookies cool completely
If the cookies are even slightly warm, the filling will melt when you assemble them.
Use a piping bag for the filling
Piping the filling helps keep the cookie sandwiches neat and evenly filled.
Check out the recipe card below to make homemade oreos, but make them gluten-free!

Homemade Gluten-Free Oreos Recipe | Easy and Fun
Ingredients
Chocolate Cookies
- 1 ¼ cups gluten-free all-purpose flour With xanthan gum
- ½ cup Dutch-processed cocoa powder
- 1 teaspoon baking soda
- ? teaspoon salt
- ½ cup salted butter room temperature
- ½ cup granulated sugar
- ¼ cup packed light brown sugar
- 1 large egg room temperature
- 1 teaspoon pure vanilla extract
Cream Filling
- ½ cup salted butter room temperature
- 1 ¾ cups powdered sugar
- 1 teaspoon pure vanilla extract
Instructions
Prepare the dry ingredients.
- In a medium mixing bowl, whisk together the gluten-free flour, cocoa powder, baking soda, and salt. Whisking helps evenly distribute the cocoa and leavening so the cookies bake consistently. Set the bowl aside.
Cream the butter and sugars.
- In the bowl of a stand mixer fitted with the paddle attachment or whisk attachment, combine the granulated sugar, brown sugar, and softened butter. Beat on medium speed for about 2–3 minutes, until the mixture becomes light, fluffy, and slightly pale in color. Properly creaming the butter and sugars helps create a smooth cookie dough and improves the cookie texture.
Add the egg and vanilla.
- Add the egg and vanilla extract to the butter mixture. Mix on medium speed until fully incorporated, scraping down the sides of the bowl as needed to ensure everything is evenly combined.
Add the dry ingredients.
- Gradually add the flour mixture to the wet ingredients. Mix on low speed just until the dough comes together. Avoid overmixing, as this can make gluten-free cookies dense.
Scoop the cookie dough.
- Using a ½ tablespoon (0.5 oz) cookie scoop, portion the dough into small balls. This ensures the cookies are uniform in size so they bake evenly.
Chill the dough.
- Place the cookie dough balls onto a parchment-lined baking sheet and refrigerate for about 10 minutes. Chilling helps firm up the dough, making it easier to flatten and helping the cookies maintain their shape while baking.
Preheat the oven.
- While the dough chills, preheat your oven to 350°F and line another baking sheet with parchment paper.
Flatten the cookies.
- Place a piece of parchment paper over the chilled dough balls. Using the bottom of a mason jar or flat glass, gently press each dough ball into a thin cookie disc, about ¼ inch thick. Oreo-style cookies are thin, so flattening them well is important.
Arrange the cookies.
- Transfer the flattened cookies to the prepared baking sheet, spacing them about 2 inches apart to allow for slight spreading during baking.
Bake the cookies.
- Bake cookies for 8–10 minutes, or until the cookies are set around the edges. The centers may still appear slightly soft, but they will firm up as they cool.
Cool the cookies.
- Allow the cookies to cool on the baking sheet for about 3 minutes before transferring them to a wire cooling rack. Let them cool completely on the wire rack before adding the filling.
Prepare the frosting.
- In a mixing bowl, whisk or beat together the softened butter, powdered sugar, and vanilla extract until smooth, creamy, and fluffy. If needed, beat for 2–3 minutes to create a light texture similar to classic Oreo filling.
Assemble the cookies.
- Once the cookies have completely cooled, pipe with a piping bag or spread with offset spatula the filling onto the flat side of one cookie. Place another cookie on top and gently press down to create a sandwich cookie.
If you’ve been missing classic sandwich cookies since going gluten-free, these homemade gluten-free Oreo cookies are the perfect solution. Rich chocolate cookies bake up thin and crisp before being filled with a smooth, sweet vanilla cream that tastes just like the classic treat.
They’re surprisingly simple to make with pantry ingredients and a gluten-free flour blend, making them perfect for everything from afternoon snacks to special occasions. Once you try these homemade gluten-free Oreos, you may never go back to store-bought again.