Gluten Free White Cake Recipe
Let it be known, cake is my favorite food group! I love creating a combination of flavors and textures, I love assembling and decorating, AND of course, I LOVE eating cake (especially with an afternoon cup of coffee – heaven).
Today, I am talking about the (in my opinion) best gluten-free vanilla cake recipe! If you’ve known me long, you know I love to make cakes and I love to create cakes with a variety of textures and flavors – all gluten free of course!

Story Time
I grew up baking in the kitchen and loved every minute of it. My mom taught me how to bake with recipes like chocolate chip cookies, zucchini bread and decadent chocolate cake. When I was first diagnosed with Celiac Disease all my love for baking went out the window. This was 20 years ago, when GF flour mixes (like Bob’s Red Mill) had ingredients like garbanzo bean flour, which gave the most awful flavor to anything you made with it. After a few baking attempts, I gave up. No one wants their cookies or cake to taste like garbanzo bean – YUCK!
Fast forward to post college, I moved back home with my parents while getting my first teaching job. And my love for baking was rebirthed. I was able to recreate all my favorites as gluten free, EXCEPT vanilla cake. Gluten free recipes really do better with baking powder, as opposed to baking soda. Too much baking soda in the batter will make it sticky, and when baked, it will make the cake dense and heavy. GROSS!
Quintessential Gluten Free Cake Recipe
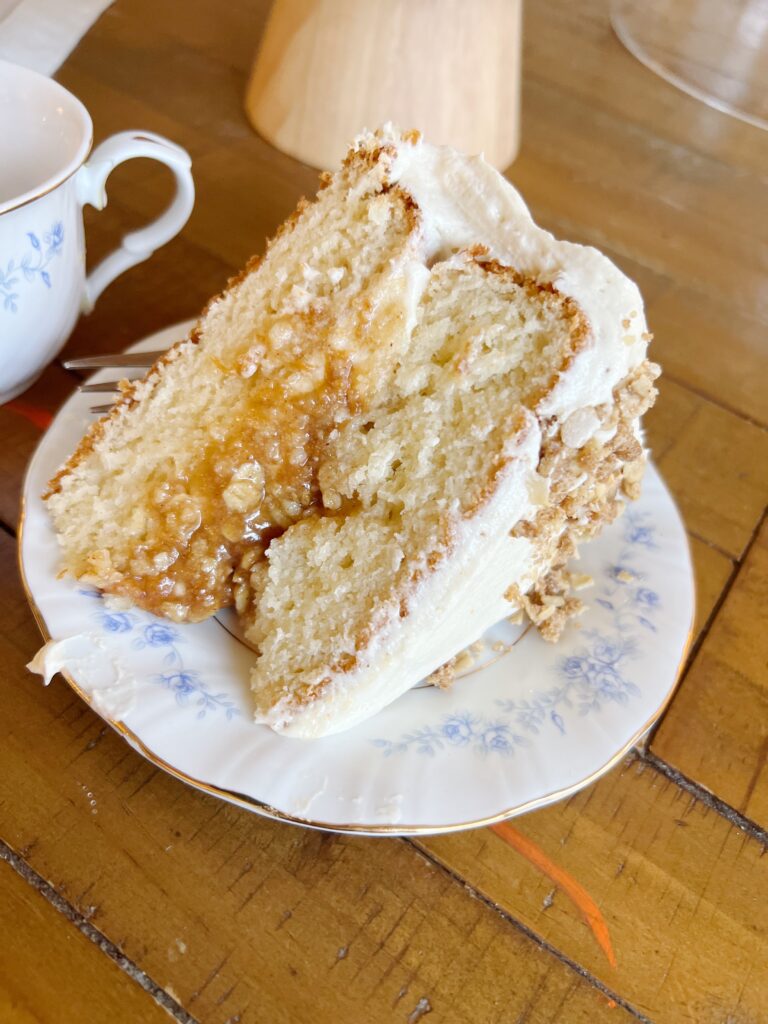
And though there are a plethora of cake flavors out there, one should always have a good gluten free white cake recipe. White or vanilla cake is such a good base, and can easily be combined with flavorful frostings! For years, I struggled with a good gluten free white cake recipe – mine always came out too dense.
But after many attempts, I have created this AMAZING gluten free recipe, that yields the most fluffy cake layers, and the flavor of the cake is that quintessential vanilla flavor. This is definitely a favorite recipe among my gluten-free baking ventures! Perfect for all special occasions!
Step By Step
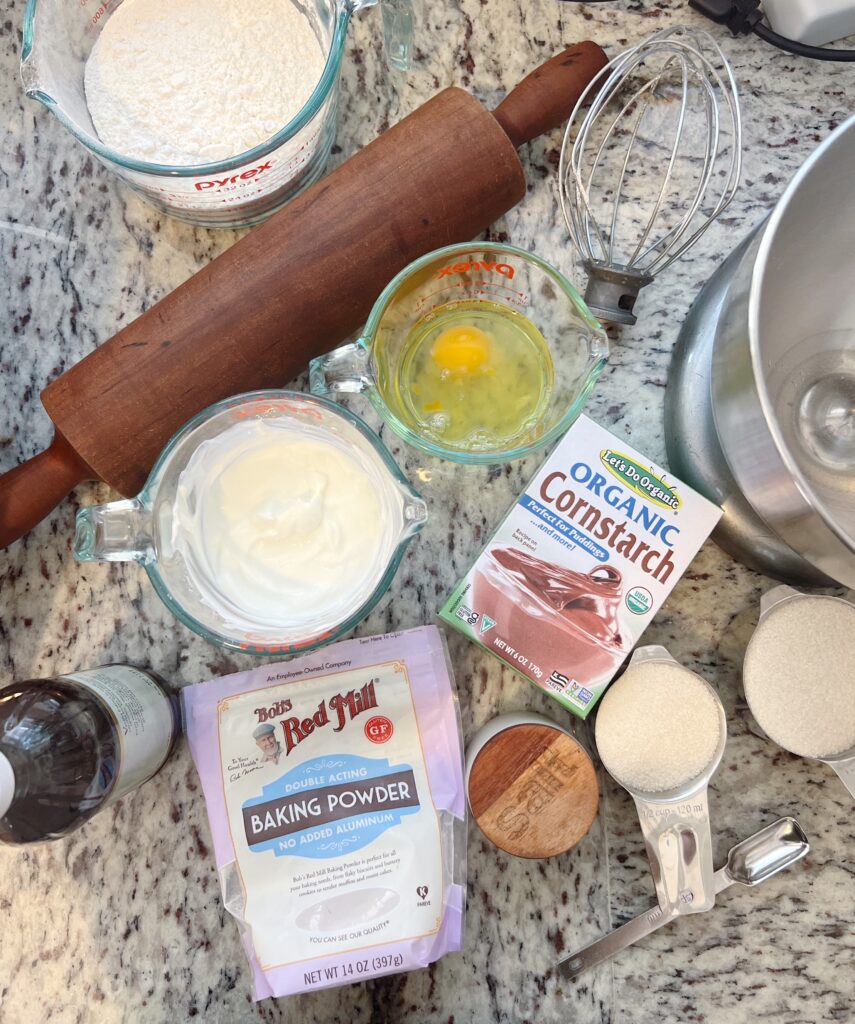
For best results, when making this cake you will want to make sure all your ingredients have come to room temperature – this is such an important steps in gluten-free baking, so plan accordingly!
This recipe all starts with the butter and sugar – as it should. Add the butter and sugar to a bowl of a stand mixer, and with a paddle attachment beat until they are light and fluffy. If you don’t have a standing mixer, you can use a large mixing bowl and handheld mixer. It will take several minutes for the butter and sugar to combine into this fluffy heaven. This is a key step in the process!
In a separate bowl, combine the dry ingredients. This includes the gluten-free flour blend. For this recipe I have used Arrowhead Mills. It worked beautifully, but I cannot speak different gluten-free, 1 to 1, all purpose flour mixes. Every gluten-free flour blend is a different combination of starches and flours and gums, and could yield different results.
Whisk together the GF flour, baking soda, baking powder, arrowroot flour, and salt. You can include xanthan gum, or another binder, if your flour mixture doesn’t have it.
Then in another large bowl, combine the wet ingredients. This is where a key ingredient comes into play. Often times, a vanilla gluten-free cake recipe will call for buttermilk or sour cream – not this one! This recipe calls for full fat greek yogurt. You could definitely substitute sour cream or buttermilk, but the texture may change. Also, make note of the egg whites! Using just the egg whites ensures that beautiful white vanilla cake color. And of course the vanilla extract must not be forgotten!
This is where it gets good! With the standing mixer on low speed, alternate adding wet and dry ingredients, starting and ending with the wet ingredients. Then increase mixer to medium speed for 30 seconds. The cake batter will be smooth but thick – do not panic – this is okay! Because of this, you will need an angled icing spatula.
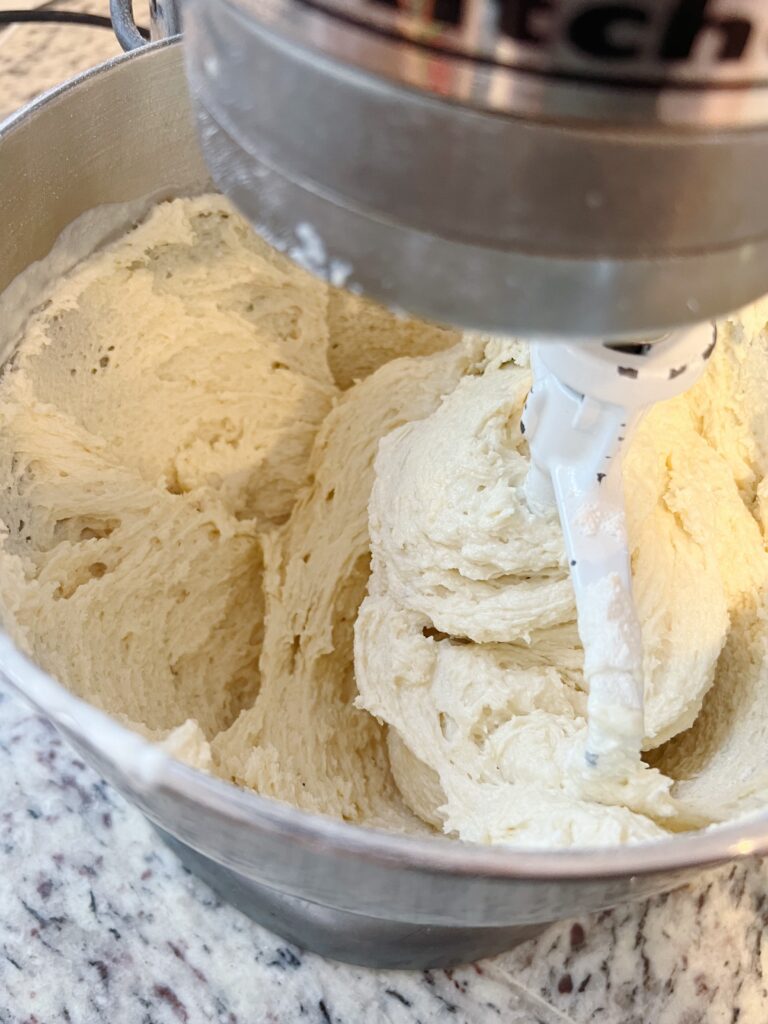
For this recipe I like to use two 8″ cake pans. No need to grease the pans, but I do like to put parchment paper in the bottom of the pans to make it easy removing the delicious cake, once baked. You could also use three 6″ cake pans for a more sophisticated vibe. Divide the batter evenly between the pans, then using your angled icing spatula smooth out the batter into an even layer.
Bake the cake for 10 minutes, then make sure to rotate the cakes to bake an additional 10 minutes. Bake until the cakes have a golden brown top, and a toothpick comes out clean with few crumbs when inserted into the middle. The center of the cake should be bouncy to touch. Let the cakes cool for 15 minutes before removing them from the cake pans, and place on a cooling rack.
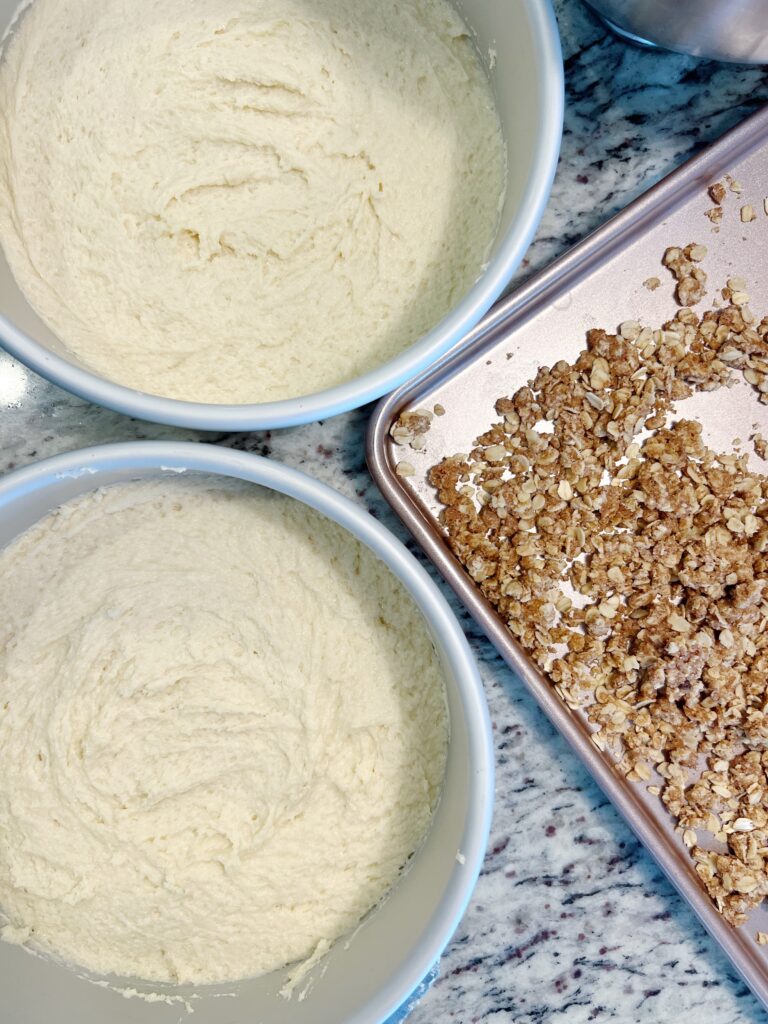
The Finishing Touches
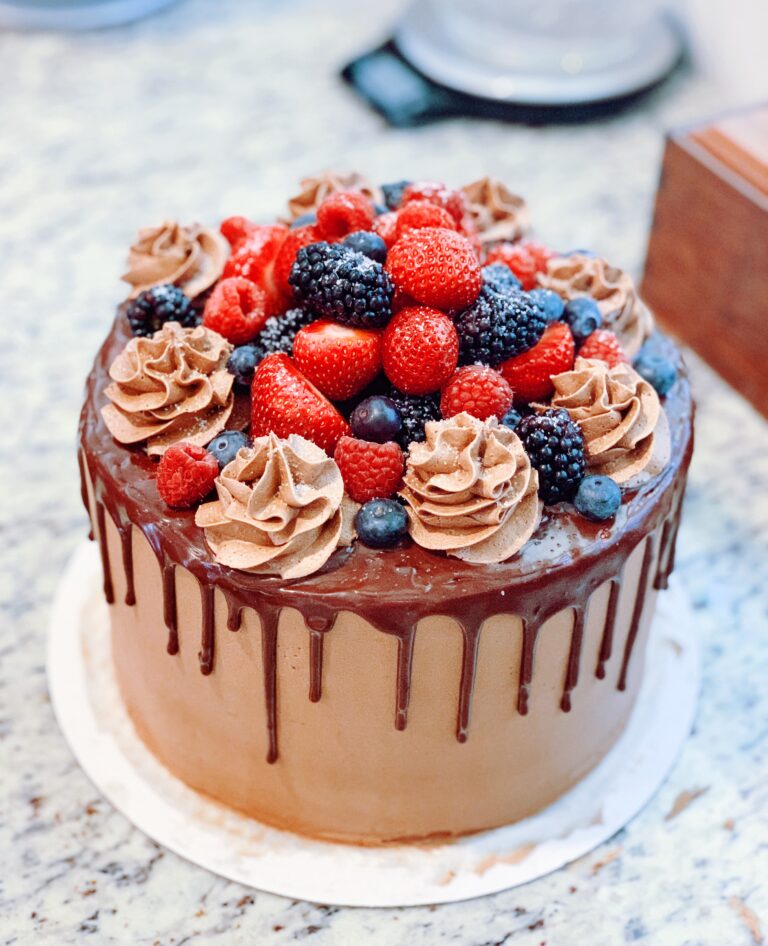
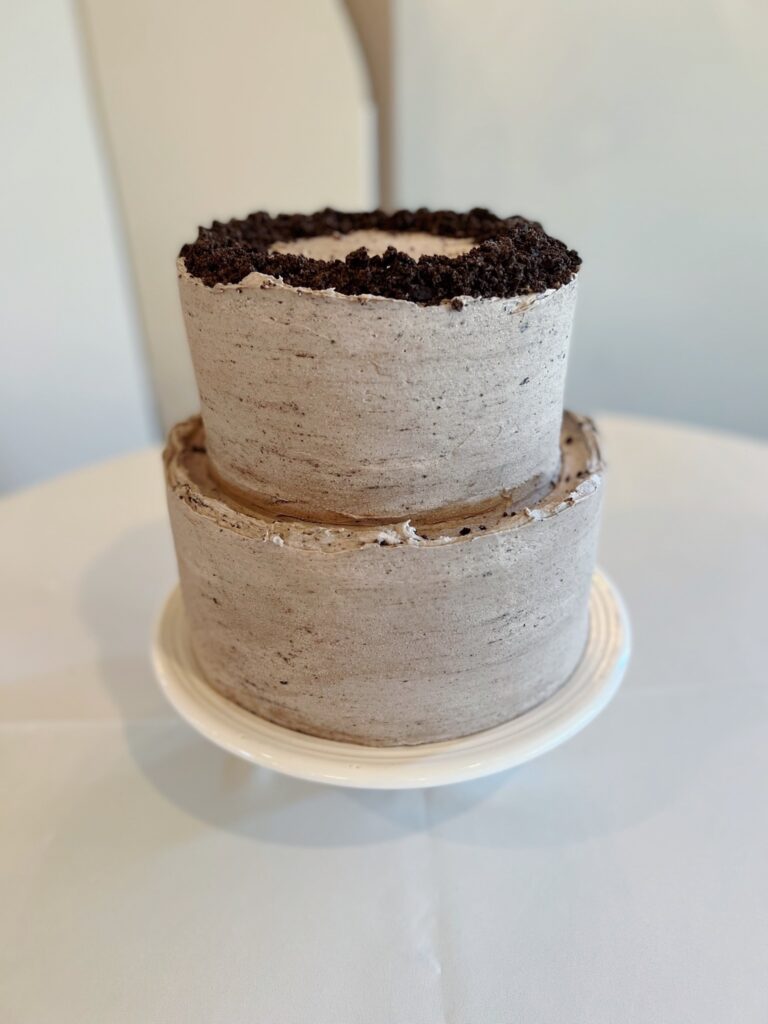
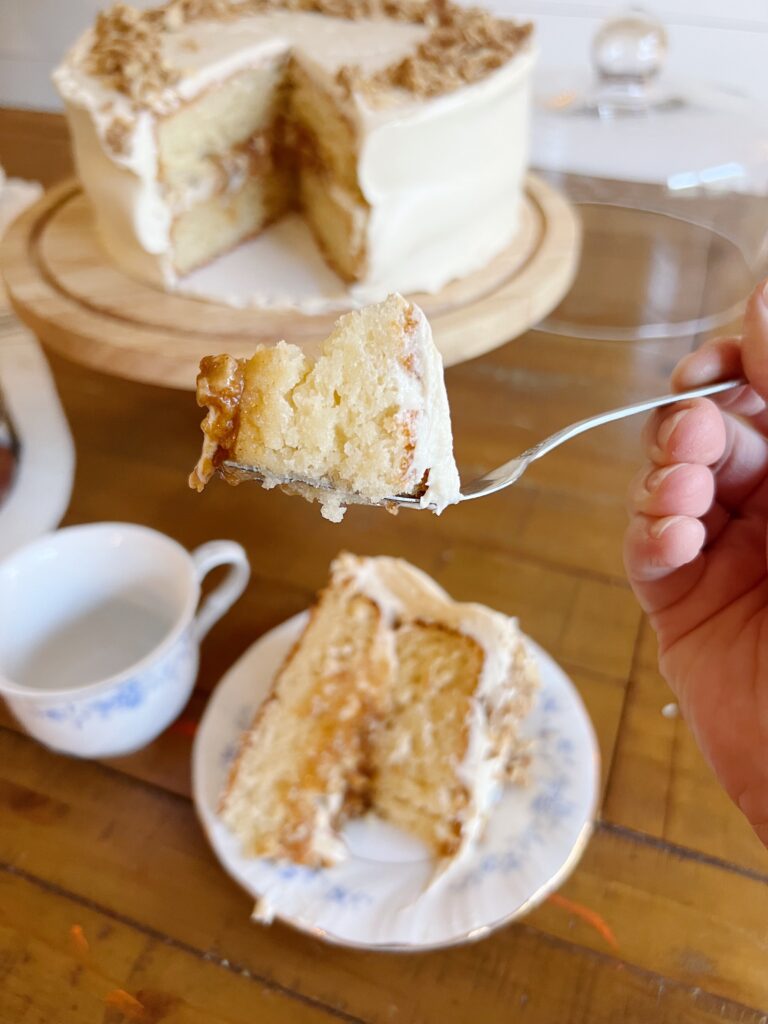
You will want your cakes to be completely cool before you assemble. The beautiful thing about vanilla cake – it is BFF to so many flavor combinations and frostings. Layer cake with a bold dark chocolate frosting for that classic birthday cake, or pair with a creamy vanilla buttercream for a light summer treat and wedding cake vibes!
Once the cake has cooled completely, it is ready for the crumb coat! I like to assemble the cake (for 3 layers or more, I will insert straws into the top of the cake for stability) then pop into the deep freeze for 20 minutes. Once the crumble coat stable, I will add the final layer of frosting, smoothing the edges with a cake scraper.
I have not tried this recipe as sheet cake, or as cupcakes. If you wanted to try this recipe as a sheet cake, I would reduce the baking temperature to 325.
This cake truly is an easy gluten free birthday cake recipe. A simple recipe, full of flavor and endless possibilities. Gathering around the table is so important to me. It’s the calm in a busy day, where memories from the day are shared, bodies get nourished, and (hopefully) share in a delicious, awe-inspiring dessert.
Truly, after years of not getting to enjoy desserts and baked goods with friends and family, it’s important to me to share what I’ve learned with others, who are new to this journey. It can be isolating. It can make you feel different. But it can also be a journey of learning and growth and empathy and fun AND heavenly new recipes!
Tips
- this cake can be made ahead of time, but gluten free cake will dry out quickly. So make sure to wrapped the cake in plastic wrap AND place it in a gallon size ziplock bag, before placing in the refrigerator
- make sure all ingredients are room temperature
- level the batter with an angled icing spatula
- if you are making a more than 3 layer cake, refrigerate the cake layers for a 10 minutes before assembling – this will add some stability
- this is more for the frosting than for cake – but make sure you whip your frosting for a good five minutes – this will make it so smooth and creamy, making it so easy to assemble the cake – too thick of a frosting will cause the cake to fall apart when spreading it on the cake
BONUS TIP: Here are some of my favorite flavor combinations using this gluten free vanilla cake recipe!
Spring is a vanilla cake with homemade lemon curd in between the layers, and covered in a creamy strawberry buttercream
Summer is a vanilla cake with peach purée and cinnamon crumble in between the layers, and covered with a (heavy on the cream cheese) cream cheese buttercream
Fall is a vanilla cake with sautéed cinnamon apples and crunchy crumble in between the layers, and covered with cream cheese buttercream
Winter is a vanilla cake with peppermint and pretzel crumble in between the layers, and covered in a creamy white chocolate buttercream
Vanilla cake. She’s a versatile beauty! Check out and share the recipe below!
The Best Gluten Free Vanilla Cake
Equipment
- 1 Standing Mixer
- Cake Pans
- Parchment Paper
- Angled Icing Spatula
- Cooling Rack
- Measuring Cups and Spoons
Ingredients
- 1 ½ cups granulated sugar
- 10 tbsp butter, room temperature
- 1 egg
- 4 egg whites
- 1 ? cups greek yogurt
- 2 tsp vanilla
- 2 cups all purpose gluten free flour
- 2 tsp baking powder
- ½ tsp baking soda
- 3 tbsp arrowroot powder
- 1 tsp salt
Notes
- Prepare cake pans by lining the bottoms with parchment paper. You can use either two 8″ cake pans, or three 6″ cake pans. Preheat the oven to 350 degrees.
- In a standing mixer, whisk butter and sugar until light and airy. Approximately 3-5 minutes, stopping at 2 minutes to scrap down the sides.
- In a separate bowl, whisk together the egg, egg whites, greek yogurt and vanilla.
- In a third bowl, whisk together the GF flour, baking powder, baking soda, arrowroot, and salt.
- Set the mixer to medium/low speed, and alternate adding the wet and dry ingredients to the butter and sugar mixture, starting and ending with the wet ingredients.
- Once combined, turn off the mixer. The batter will be smooth and thick.
- Divide the batter evenly between the cake pans and use the angled icing spatula to smooth the batter into a flat layer.
- Pop the cake pans into the oven and prep your desired frosting while you wait for these beauties to bake! For 8″ cakes, bake for 10 minutes, rotate, then bake another 10 minutes. For 6″ cakes, the bake time will be slightly less. When cakes are golden brown, and you can insert a toothpick into the middle with only crumbs sticking to it – they are ready!
- Let cakes cool for 15 minutes before removing from the cake pans. Place the cakes on a cooling rack. They must be completely cool before adding frosting to the cakes.
- Enjoy!
Happy Baking!
XOXO
Raissa

