Gluten-Free Chocolate Cream Pie Recipe | No Bake
This blog may contain affiliate links from which I earn a small commission.
Every Thanksgiving and Christmas my mother would make this chocolate pie and just the smell of it brings back all those childhood memories of waking on Christmas or Thanksgiving to the aroma of chocolate wafting through the air – quite literally a delightful way to wake on a holiday and still one of my favorite recipes. And while my sweet mama only made one of these pies, she probably could have made two because it was always devoured – deemed the best dessert. And it remains one of our favorite desserts made with simple, basic ingredients and a go-to dessert. I promise there will be a no leftover pie!
And secrets out, but the filling of this pie makes for a perfect chocolate pudding if you are wanting a quick dessert that sounds fancy!
Making a gluten-free version – a gluten-free chocolate cream pie – wasn’t really hard, just a swap of the crust and you are good to go! I have included my go-to pastry crust and graham cracker crust recipes below!
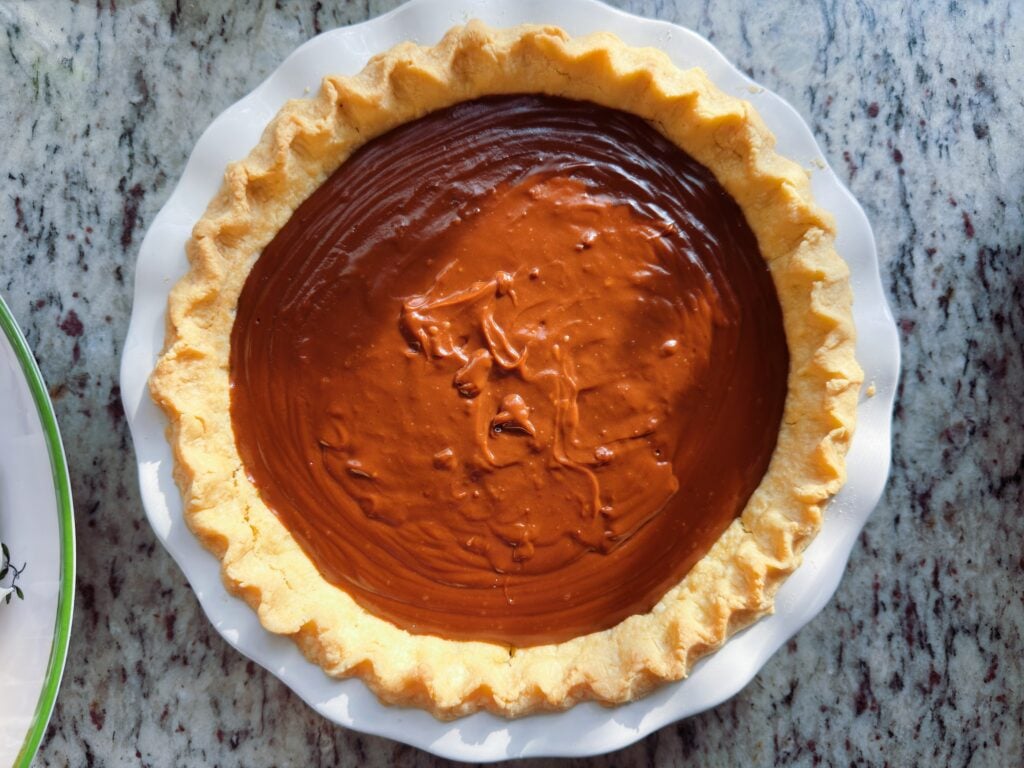
Why You Will Love This Recipe:
- Rich, homemade chocolate filling: This pie has a silky, creamy chocolate custard made from real chocolate, milk, cream, and egg yolks. It has that classic homemade chocolate pudding flavor that is hard to beat!
- Naturally sweetened: Coconut sugar adds sweetness with a subtle caramel flavor that pairs beautifully with the chocolate.
- Gluten-free and delicious: Whether you use a pre-baked gluten-free pie crust or make your own graham cracker crust with Simple Mills crackers, this dessert is completely gluten-free.
- Simple ingredients: You don’t need a boxed pudding mix or complicated ingredients. This homemade chocolate filling comes together with simple pantry staples.
- Perfect make-ahead dessert: The pie needs time to chill in the refrigerator, making it a wonderful dessert to prepare the day before a holiday, gathering, or special occasion.
- The perfect whipped cream topping: Homemade whipped cream sweetened with maple syrup and vanilla adds a light, fluffy contrast to the rich chocolate filling.
Ingredients:
For the Filling:
- 3 tablespoons cornstarch or arrowroot starch/flour: This is the thickening agent that gives the chocolate pie filling its smooth, creamy, pudding-like consistency. Either option works well. Make sure to whisk it thoroughly with the sugar to prevent lumps from forming.
- 1 cup coconut sugar: Adds sweetness and a subtle caramel-like flavor that pairs beautifully with the rich chocolate. Coconut sugar also gives the filling a slightly deeper color than traditional granulated sugar.
- 2 cups whole milk: The base of the chocolate custard filling. Whole milk provides creaminess and helps create a smooth, rich texture. I recommend using whole milk rather than a lower-fat option for the best results.
- 1/2 cup heavy cream: Adds extra richness and a silky texture to the chocolate filling. The combination of whole milk and heavy cream creates a decadent, creamy custard.
- 4 oz Hu chocolate gems or Hu chocolate chips: The star of the pie! These chocolate gems melt into the warm custard, creating a deep chocolate flavor. Hu chocolate is a great option for a more naturally sweetened chocolate. You can also use your favorite dark or semi-sweet chocolate.
- 4 egg yolks: Egg yolks help thicken the custard while adding richness and a velvety texture. They also give the chocolate filling its classic homemade pudding consistency. Use room-temperature egg yolks for easier incorporation.
- 2 tablespoons salted butter: Adds richness, flavor, and a beautiful silky finish to the chocolate filling. The butter also helps create a smooth, glossy texture as it melts into the warm custard.
- 2 teaspoons vanilla extract: Enhances the chocolate flavor and adds warmth to the filling. Pure vanilla extract is especially delicious in homemade chocolate pie.
Recipe tip: For the smoothest chocolate pie filling, finely chop the chocolate gems before adding them to the warm custard. They will melt more quickly and evenly, making it easier to achieve a silky, lump-free filling.
For the Crust:
- 1 pre-baked gluten-free pie crust: Use your favorite gluten-free pie crust as the base for this chocolate pie. A pre-baked crust makes preparation easy and provides a buttery, flaky foundation for the rich chocolate custard filling. Make sure the crust is completely cooled before adding the filling. It is a perfectly buttery crust – golden brown perfection!
Or make a simple gluten-free graham cracker crust:
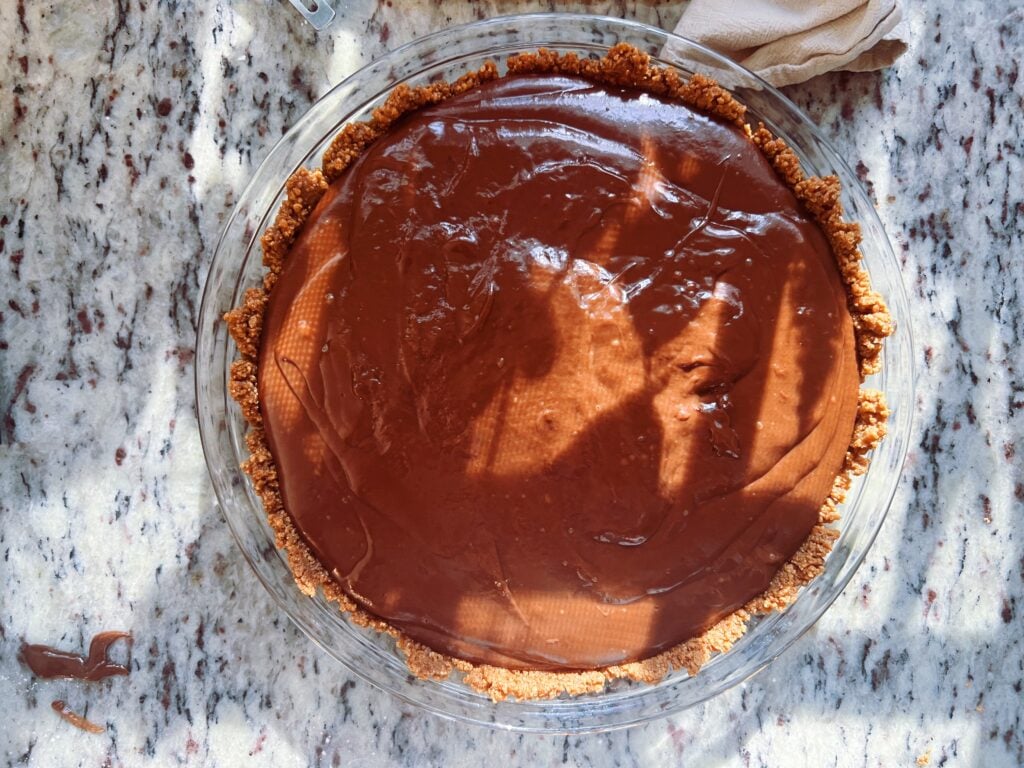
Tip: If making the graham cracker crust, combine the crumbs and melted butter until the texture resembles wet sand. Press firmly into the bottom and sides of a 9-inch pie plate. Bake at 350°F for about 8–10 minutes, then allow it to cool completely before adding the chocolate filling.
Instructions:
- Combine the starch and sugar. In a medium saucepan, whisk together the cornstarch (or arrowroot starch) and coconut sugar until evenly combined. This helps distribute the starch throughout the sugar and prevents lumps from forming in the custard.
- Add the milk and cream. Slowly pour in the whole milk and heavy cream, whisking continuously until the mixture is smooth and the starch and sugar are fully incorporated.
- Add the chocolate. Stir in the chocolate chunks or gems. Make sure the chocolate is evenly distributed throughout the mixture.
- Cook the chocolate filling. Place the saucepan over medium heat and cook for about 2 minutes, whisking frequently, until the mixture begins to bubble and thicken. Once bubbling, reduce the heat to low and continue cooking for another minute, whisking constantly. The filling should begin to resemble a thick chocolate pudding.
- Prepare the egg yolks. Remove the saucepan from the heat. Separate the eggs, placing the yolks in a small bowl. Whisk the egg yolks until smooth and combined.
- Temper the egg yolks. Slowly add about 1 cup of the warm chocolate mixture to the egg yolks, a little at a time, whisking continuously. This process gently warms the yolks so they can be incorporated into the hot filling without scrambling.
- Finish cooking the custard. Pour the tempered egg mixture back into the saucepan with the remaining chocolate filling. Return the pan to the stove over low heat and cook for another 2 minutes, whisking constantly. The filling should become thick, smooth, and glossy. Avoid bringing it to a boil.
- Add the butter and vanilla. Remove the saucepan from the heat. Whisk in the salted butter and vanilla extract until the butter has completely melted and the filling is silky and smooth.
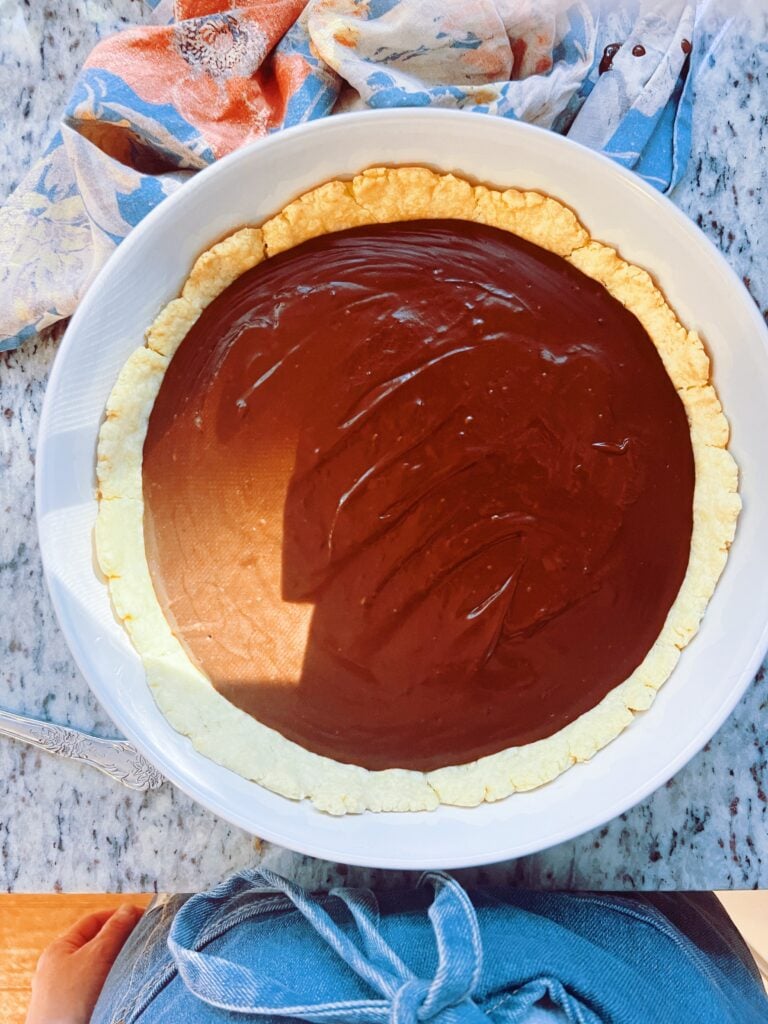
- Fill the pie crust. Pour the warm chocolate filling into your prepared, pre-baked gluten-free pie crust or cooled graham cracker crust. Use a spatula to spread the filling evenly and smooth the top.
- Cool the pie. Place a piece of wax paper directly over the surface of the chocolate filling to help prevent a skin from forming. Allow the pie to cool at room temperature until it is no longer warm.
- Chill before serving. Transfer the pie to the refrigerator and chill for at least 2 hours, or until the filling is completely set. For the cleanest slices, I recommend chilling it a little longer if you have the time.
- Make the whipped cream and serve. Serve chilled with homemade whipped cream lightly sweetened with maple syrup and vanilla extract. The lightly sweetened whipped cream is the perfect complement to the rich chocolate filling!
A few helpful tips:
- Whisk continuously once the filling begins to thicken to prevent scorching on the bottom of the pan.
- Tempering the egg yolks slowly is important for a smooth, creamy custard.
- For the best texture, make sure the pie is thoroughly chilled before slicing.
- If making the pie ahead, store it covered in the refrigerator and add the whipped cream just before serving.
Perfect Pairings:
- Homemade Maple Vanilla Whipped Cream: A must-have topping! Lightly sweetened whipped cream balances the richness of the chocolate custard without overpowering it. Sweeten with a little maple syrup and vanilla extract.
- Fresh Fruit: Fresh raspberries, strawberries, or blackberries add a bright, slightly tart flavor that pairs beautifully with the rich chocolate filling.
- Vanilla Bean Ice Cream: Serve a slice with a scoop of vanilla ice cream for an extra decadent dessert. The cold, creamy vanilla is delicious alongside the chocolate custard.
- Salted Caramel Sauce: A drizzle of homemade salted caramel adds buttery sweetness and a hint of salt that enhances the chocolate flavor.
- Toasted Pecans: Sprinkle chopped toasted pecans over the whipped cream for a little crunch and nutty flavor. They are especially delicious with the graham cracker crust.
- Chocolate Shavings: Add a few dark chocolate curls or finely chopped chocolate gems over the whipped cream for an elegant finishing touch and an extra boost of chocolate flavor.
- Coffee or Espresso: A cup of freshly brewed coffee or espresso is a wonderful pairing. The slight bitterness of coffee balances the sweetness and richness of the chocolate pie.
- Fresh Orange Zest: Add a little freshly grated orange zest over the whipped cream. The bright citrus flavor complements the chocolate and adds a lovely touch.
- Gluten-Free chocolate cookie crust: Changing the crust to a chocolate cookie crust is an easy way to change up the recipe in an elevated way!
- Cool Whip: If you are feeling lazy, Cool Whip will do the trick!
- Whipped Coconut Cream: A delightful pair!
Summary:
This homemade gluten-free chocolate pie is rich, creamy, and filled with a silky chocolate custard made from scratch. Sweetened with coconut sugar and melted Hu chocolate gems, the filling has a deep chocolate flavor with just the right amount of sweetness. You can make this pie with your favorite pre-baked gluten-free pie crust or prepare an easy graham cracker crust using Simple Mills gluten-free graham crackers and melted butter. After a few hours in the refrigerator, the chocolate filling sets into the perfect sliceable texture. Finish it with homemade whipped cream sweetened with maple syrup and vanilla for a simple but decadent dessert. Whether you’re making it for Thanksgiving, Christmas, a birthday, or just because you’re craving chocolate, this gluten-free chocolate pie is sure to become a family favorite! Truly an amazing pie!
Check out the recipe card below to make this yummy gluten free chocolate cream pie, a truly delightful, classic dessert!
Gluten-Free Chocolate Cream Pie Recipe | No Bake
Ingredients
- 1 pre-baked pie
- 3 tablespoons cornstarch or arrowroot starch/flour
- 1 cup coconut sugar
- 2 cups whole milk
- 1/2 cup heavy cream
- 4 oz Hu chocolate gems or Hu chocolate chips
- 4 egg yolks
- 2 tablespoons salted butter
- 2 teaspoons vanilla extract
Instructions
- Combine the starch and sugar. In a medium saucepan, whisk together the cornstarch (or arrowroot starch) and coconut sugar until evenly combined. This helps distribute the starch throughout the sugar and prevents lumps from forming in the custard.
- Add the milk and cream. Slowly pour in the whole milk and heavy cream, whisking continuously until the mixture is smooth and the starch and sugar are fully incorporated.
- Add the chocolate. Stir in the chocolate chunks or gems. Make sure the chocolate is evenly distributed throughout the mixture.
- Cook the chocolate filling. Place the saucepan over medium heat and cook for about 2 minutes, whisking frequently, until the mixture begins to bubble and thicken. Once bubbling, reduce the heat to low and continue cooking for another minute, whisking constantly. The filling should begin to resemble a thick chocolate pudding.
- Prepare the egg yolks. Remove the saucepan from the heat. Separate the eggs, placing the yolks in a small bowl. Whisk the egg yolks until smooth and combined.
- Temper the egg yolks. Slowly add about 1 cup of the warm chocolate mixture to the egg yolks, a little at a time, whisking continuously. This process gently warms the yolks so they can be incorporated into the hot filling without scrambling.
- Finish cooking the custard. Pour the tempered egg mixture back into the saucepan with the remaining chocolate filling. Return the pan to the stove over low heat and cook for another 2 minutes, whisking constantly. The filling should become thick, smooth, and glossy. Avoid bringing it to a boil.
- Add the butter and vanilla. Remove the saucepan from the heat. Whisk in the salted butter and vanilla extract until the butter has completely melted and the filling is silky and smooth.
- Fill the pie crust. Pour the warm chocolate filling into your prepared, pre-baked gluten-free pie crust or cooled graham cracker crust. Use a spatula to spread the filling evenly and smooth the top.
- Cool the pie. Place a piece of wax paper directly over the surface of the chocolate filling to help prevent a skin from forming. Allow the pie to cool at room temperature until it is no longer warm.
- Chill before serving. Transfer the pie to the refrigerator and chill for at least 2 hours, or until the filling is completely set. For the cleanest slices, I recommend chilling it a little longer if you have the time.
- Make the whipped cream and serve. Serve chilled with homemade whipped cream lightly sweetened with maple syrup and vanilla extract. The lightly sweetened whipped cream is the perfect complement to the rich chocolate filling!